> ## Documentation Index
> Fetch the complete documentation index at: https://docs.krea.ai/llms.txt
> Use this file to discover all available pages before exploring further.
> How to train a style like a pro in just a few minutes.
# Krea Guide: Style Training
# Training an Insanely Good Style
If you're a Krea user, you're already awesome at text prompting. You've also probably trained LoRAs before. But what makes a **great** custom model?
**Krea's 3 Key Steps for Training:**
1. **Curation**
* You need top tier images - high quality, high cohesion. You are the *curator* and Krea is your gallery.
2. **Refinement**
* Krea makes it super easy to tweak all the technical specs - foundation models, training steps, etc. Fine tune to your heart's content.
3. **Alchemy**
* Lets be clear: **Style Training** is it's own art, not an exact science. If your training fails expectations don't panic. This is a trial and error process to create something *magical.* Iterate, iterate, iterate!
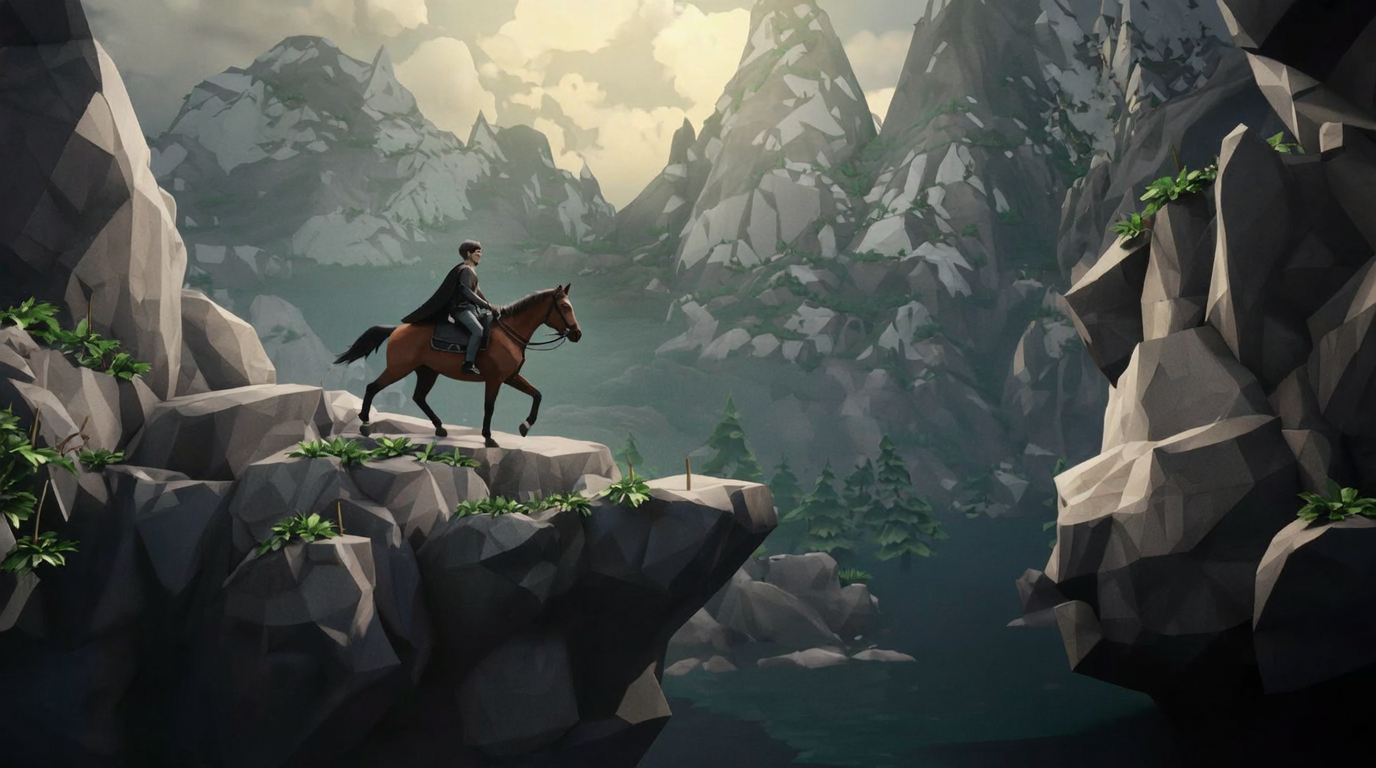
Prompt: *An alchemist in their laboratory distilling an elixir, abstract.* Made using custom style with Krea 1 model.
## 1. Curation
### Uploading
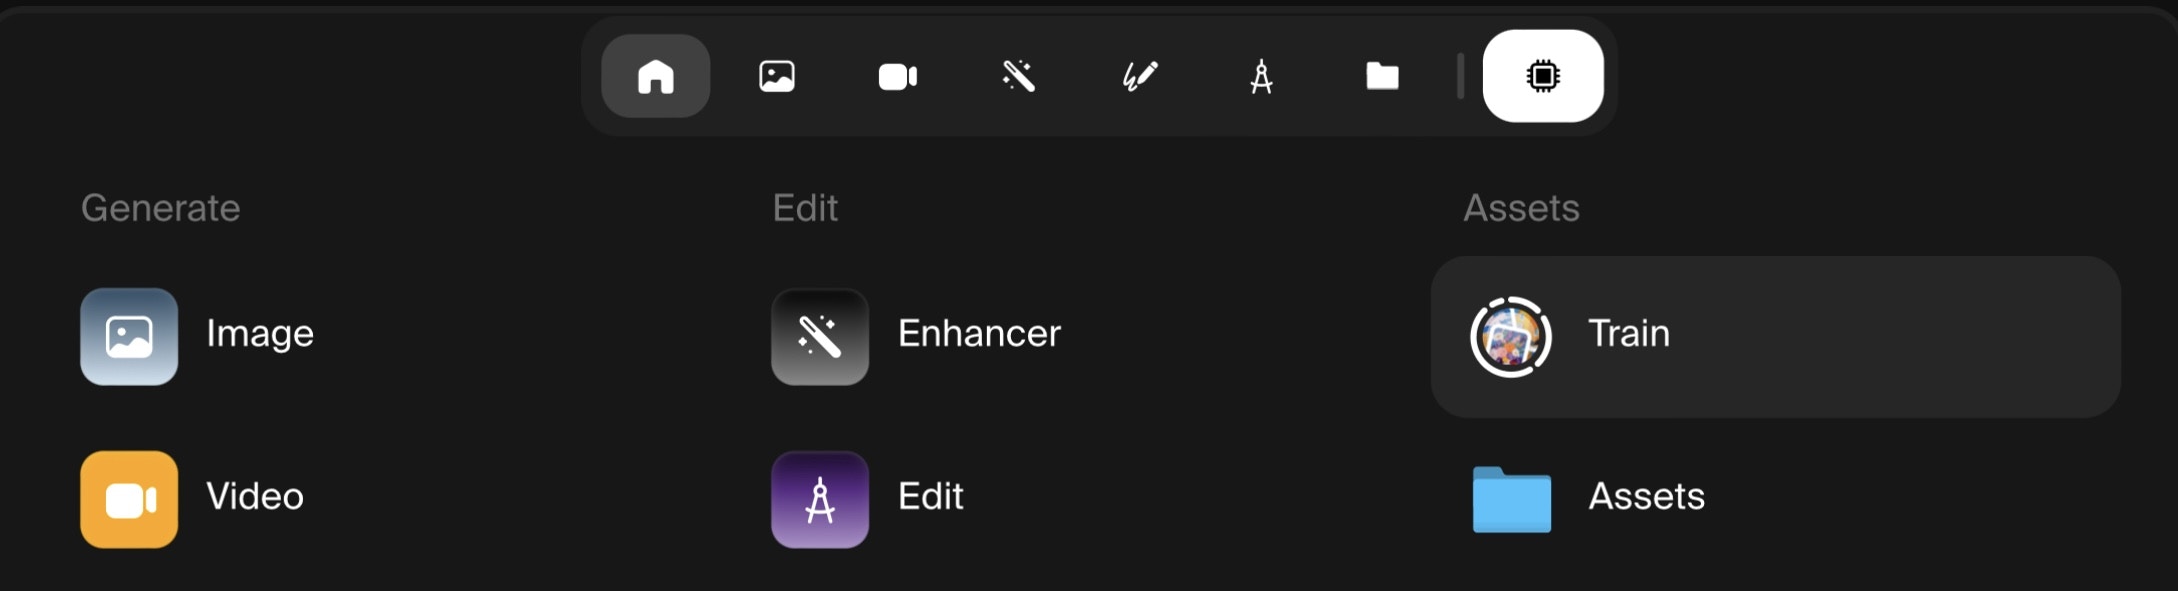
From [Krea.ai](http://www.krea.ai/), click the **Home** icon, under assets click [**Train**](https://www.krea.ai/train). Or just scroll down.
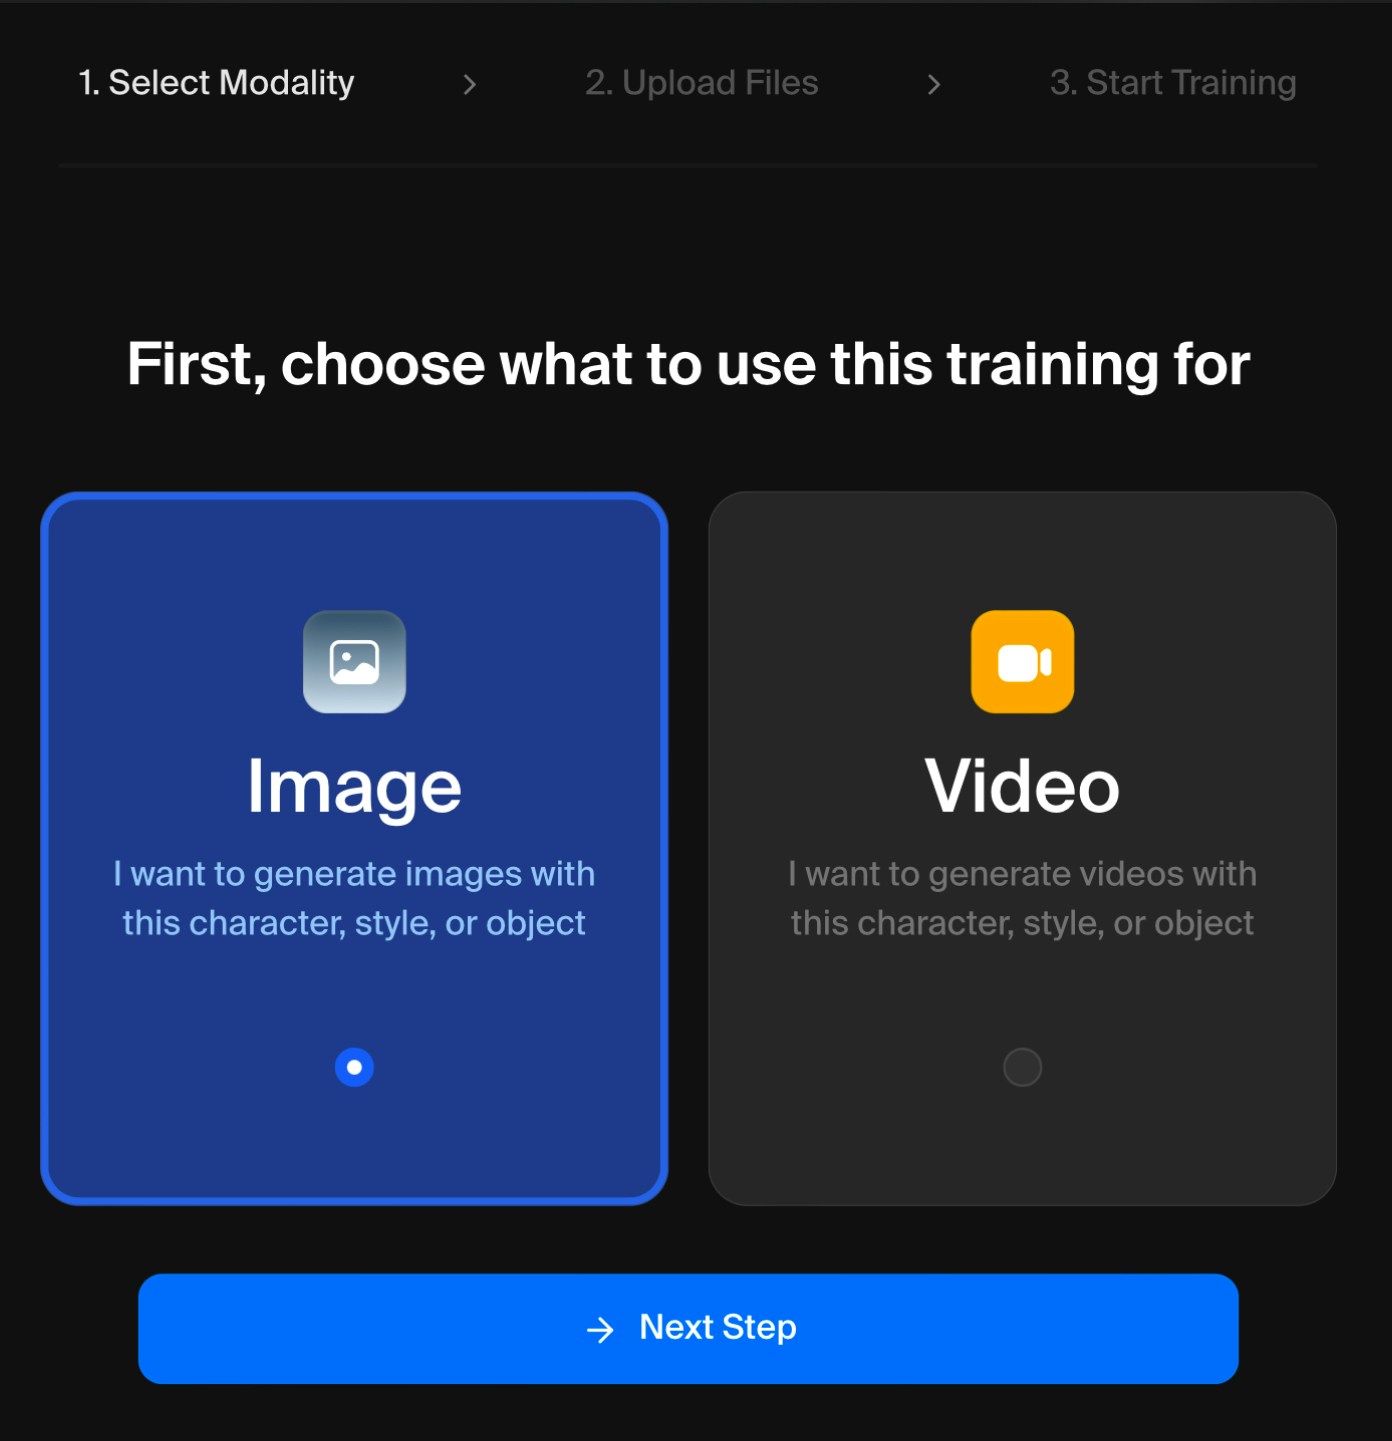
 Choose between **Image** or **Video** model. **Video** models can train both still images and video clips. Later you can reuse training data for a different type of model.
 Upload as little as 3, or as many as 2000 images (game devs, we're looking at you ).
While having more images helps, you're better off having 20 really *cohesive*, high quality images than 2000 \_average \_ones. In general, **quality > quantity** (as long as you have \_at least 5-10 \_images). Only make the dataset large if you can maintain the high bar.
Remember: these images need to be as high resolution as possible. Lower resolution images can muddy outputs and create artifacts.
### Dataset Types
**Character**
* You can train a model to understand specific drawn or rendered character (*illustration, concept art, animation, video games*, etc.). Also for training on a real person's face (consensually, of course).
Upload as little as 3, or as many as 2000 images (game devs, we're looking at you ).
While having more images helps, you're better off having 20 really *cohesive*, high quality images than 2000 \_average \_ones. In general, **quality > quantity** (as long as you have \_at least 5-10 \_images). Only make the dataset large if you can maintain the high bar.
Remember: these images need to be as high resolution as possible. Lower resolution images can muddy outputs and create artifacts.
### Dataset Types
**Character**
* You can train a model to understand specific drawn or rendered character (*illustration, concept art, animation, video games*, etc.). Also for training on a real person's face (consensually, of course).
 The character data (right) and the style generated character (left) have consistent details.
* Use as many images of your character in the **exact same attire** for consistency. A variety of poses, angles, and actions are ideal.
* *Animators* and *concept artists* - this is a super similar workflow to making character sheets.
Training data with different outfits can be more useful for a realistic model based on a single person. If you plan to generate images where your character has different attire, upload a variety of looks.
**Object**
* Same principles as character training - exact object, multiple angles, closeups for detail and wide shots for context.
* If you're a *product designer* or work in *e-commerce*, just upload as many unique product shots as you have.
* Blank or transparent backgrounds can help, but not necessary, as long as the object in the central focus of the image.
The character data (right) and the style generated character (left) have consistent details.
* Use as many images of your character in the **exact same attire** for consistency. A variety of poses, angles, and actions are ideal.
* *Animators* and *concept artists* - this is a super similar workflow to making character sheets.
Training data with different outfits can be more useful for a realistic model based on a single person. If you plan to generate images where your character has different attire, upload a variety of looks.
**Object**
* Same principles as character training - exact object, multiple angles, closeups for detail and wide shots for context.
* If you're a *product designer* or work in *e-commerce*, just upload as many unique product shots as you have.
* Blank or transparent backgrounds can help, but not necessary, as long as the object in the central focus of the image.
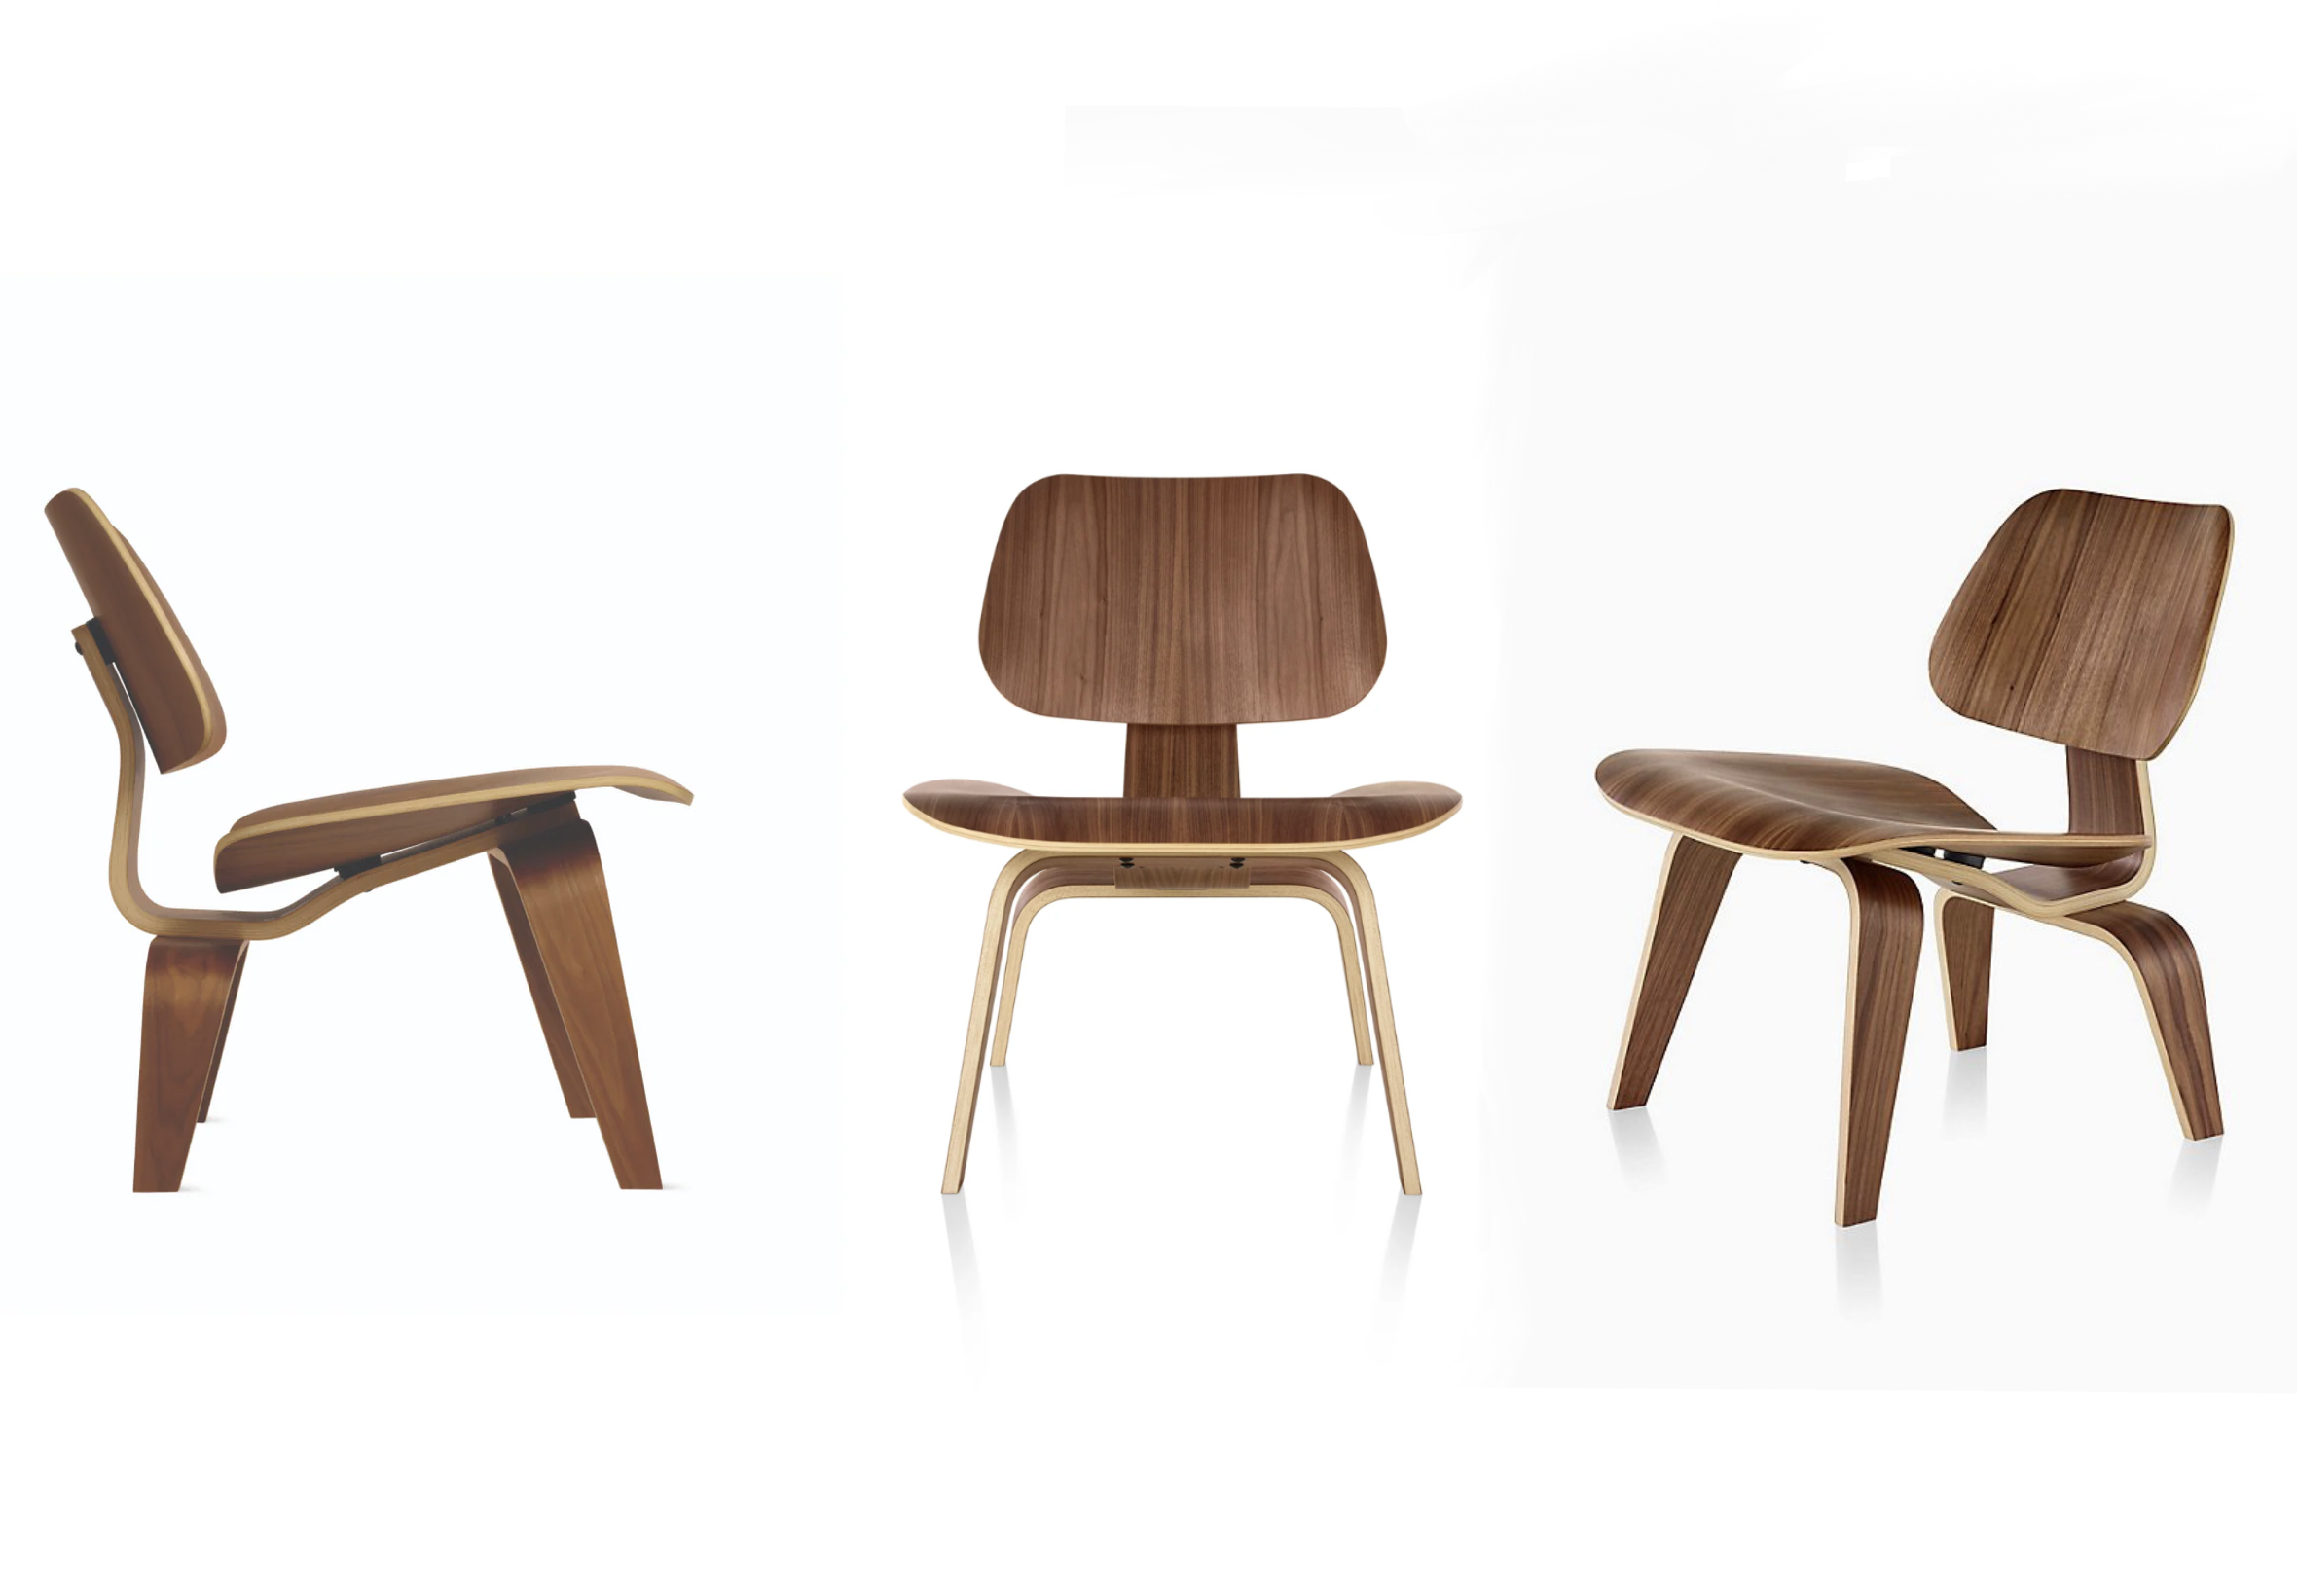 Same object, different angles, blank background. This is great training data.
* If ANY of your images are of a slightly different object or product, this will confuse the model, and muddy the results.
If there's text on the product, the style might not be able to replicate it unless you have a ton of training images with close ups on the text. Expect artifacts otherwise.
**Aesthetic**
* Here you can have a more relaxed, creative data set. The aesthetic or material of the works - exactly the same - but the subject matter can and should be really diverse.
* *Oil painting, anime, liquid chrome, marble, low poly* - any true look or medium.
Same object, different angles, blank background. This is great training data.
* If ANY of your images are of a slightly different object or product, this will confuse the model, and muddy the results.
If there's text on the product, the style might not be able to replicate it unless you have a ton of training images with close ups on the text. Expect artifacts otherwise.
**Aesthetic**
* Here you can have a more relaxed, creative data set. The aesthetic or material of the works - exactly the same - but the subject matter can and should be really diverse.
* *Oil painting, anime, liquid chrome, marble, low poly* - any true look or medium.
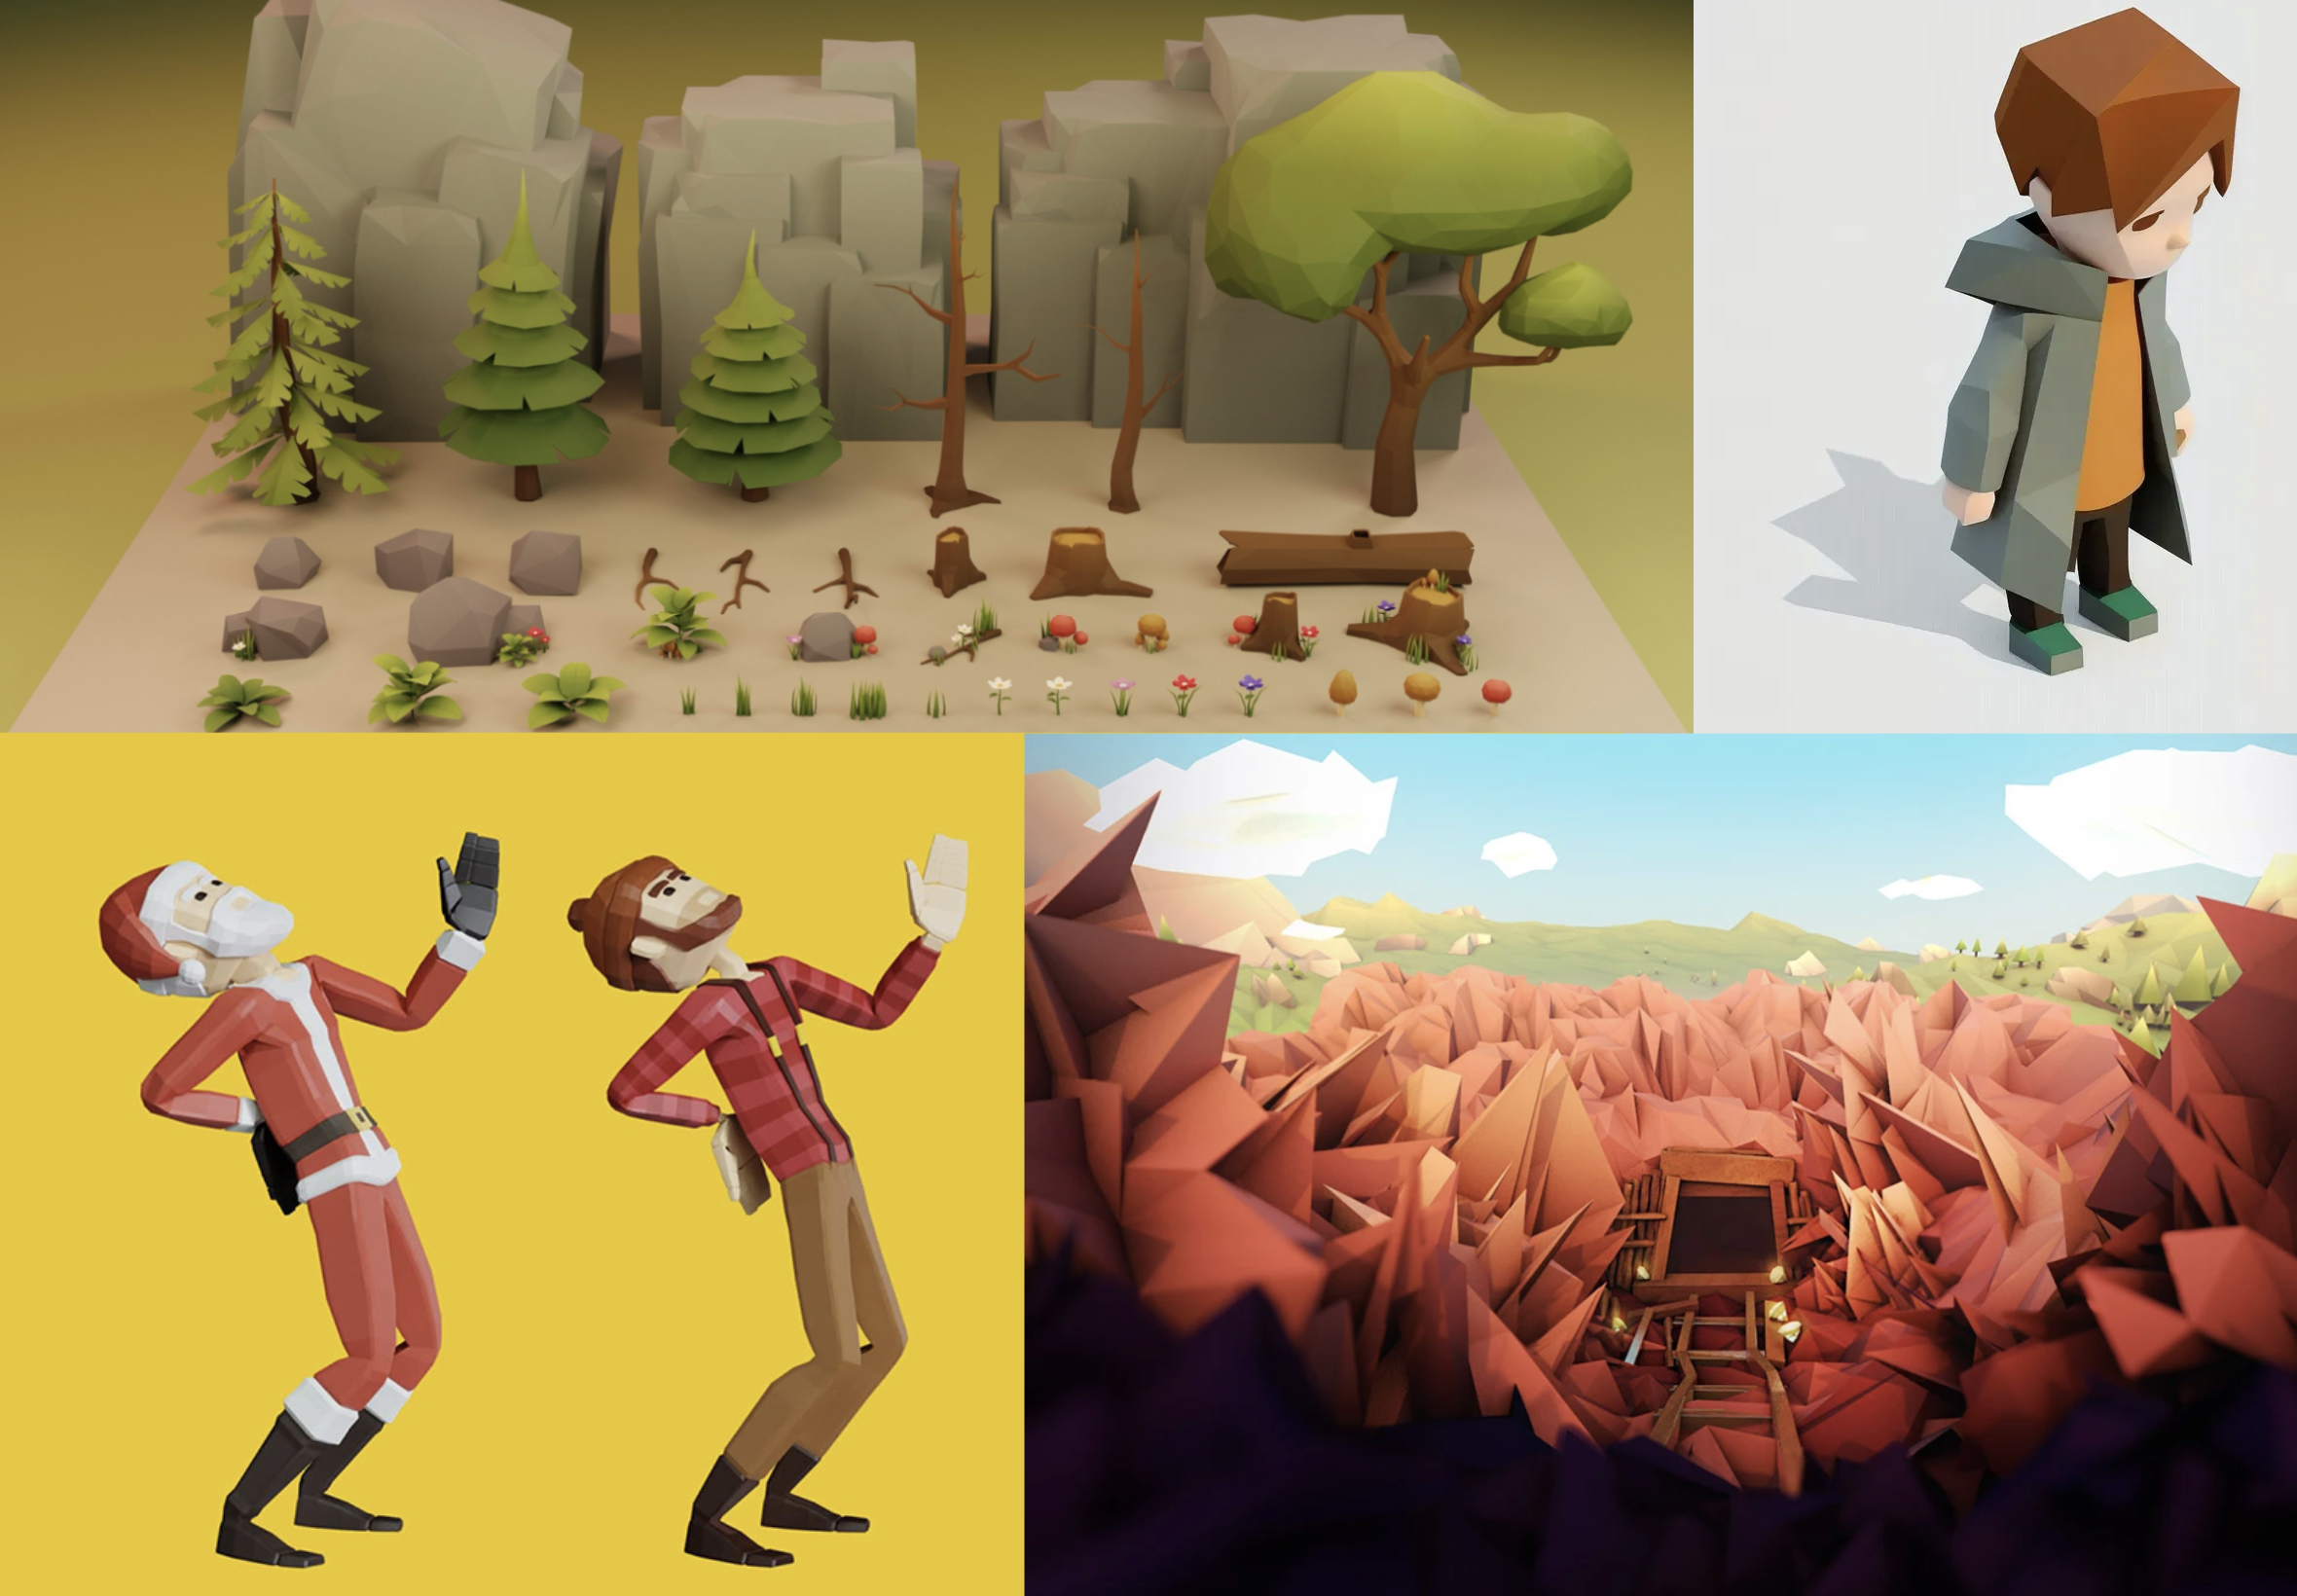 This sampling from a Low Poly dataset contains unique characters *and* backgrounds.
 This generated image from the Low Poly style created an entirely new subject and compostion.
* A wide breadth stops the style from overfitting to one specific subject, allowing it to be truly inventive.
Aesthetic styles are where your curatorship can really shine. Have fun and experiment. *Run wild*.
## 2. Refinement
Now it's time to tweak any technical parameters. Krea will name your **Custom Style** and assign a **trigger word** when prompting (change if needed).
You can also check the meters for the number of images and the average resolution. So far so good.
### Model
* Krea's superpower is that it runs a variety of the top image and video generation models.
* Each model has its own specialties to choose from, but it's worth experimenting with all of them. Quick breakdown:
| Model | Type | Gen. Time | Strengths | Use Cases |
| :------------ | :---------- | ---------------- | --------------------------------------------------------- | ------------------------------------------------------------------- |
| Krea 1 | Image | 8 sec. | Photorealism, highly aesthetic | Graphic Design, Architecture, Product, Marketing Assets |
| Flux | Image | 5 sec. | Photorealism, high prompt adherence, anatomical precision | Concept Art, Graphic Design, Instructional Design, Marketing Assets |
| Flux Realtime | Image | 1 min. | Adapts in realtime to edits, high prompt adherence | Protoyping, Social Content, E-Commerce |
| Wan 2.1 | Video | 1 min. | Natural motion, high scene consistency | Marketing, Social Content, Educational Assets |
| Wan 2.2 | Image | 20 sec. | Ultra realistic renders, highly aesthetic | Animation assets, Upscaling, Concept Art, Social Content |
| Qwen | Image | 15 sec. | Great text generation, prompt adherence | Text Assets, E-Commerce, Technical Designs, Concept Art |
Remember: the model you train with is the only model your custom style can generate with.
### Steps
* Increased steps = more time spent studying the data. Also can cost a lot of compute and *overfitting*, where the style just regurgitates the training images. Good start value is *amount of images* x *20*.
This generated image from the Low Poly style created an entirely new subject and compostion.
* A wide breadth stops the style from overfitting to one specific subject, allowing it to be truly inventive.
Aesthetic styles are where your curatorship can really shine. Have fun and experiment. *Run wild*.
## 2. Refinement
Now it's time to tweak any technical parameters. Krea will name your **Custom Style** and assign a **trigger word** when prompting (change if needed).
You can also check the meters for the number of images and the average resolution. So far so good.
### Model
* Krea's superpower is that it runs a variety of the top image and video generation models.
* Each model has its own specialties to choose from, but it's worth experimenting with all of them. Quick breakdown:
| Model | Type | Gen. Time | Strengths | Use Cases |
| :------------ | :---------- | ---------------- | --------------------------------------------------------- | ------------------------------------------------------------------- |
| Krea 1 | Image | 8 sec. | Photorealism, highly aesthetic | Graphic Design, Architecture, Product, Marketing Assets |
| Flux | Image | 5 sec. | Photorealism, high prompt adherence, anatomical precision | Concept Art, Graphic Design, Instructional Design, Marketing Assets |
| Flux Realtime | Image | 1 min. | Adapts in realtime to edits, high prompt adherence | Protoyping, Social Content, E-Commerce |
| Wan 2.1 | Video | 1 min. | Natural motion, high scene consistency | Marketing, Social Content, Educational Assets |
| Wan 2.2 | Image | 20 sec. | Ultra realistic renders, highly aesthetic | Animation assets, Upscaling, Concept Art, Social Content |
| Qwen | Image | 15 sec. | Great text generation, prompt adherence | Text Assets, E-Commerce, Technical Designs, Concept Art |
Remember: the model you train with is the only model your custom style can generate with.
### Steps
* Increased steps = more time spent studying the data. Also can cost a lot of compute and *overfitting*, where the style just regurgitates the training images. Good start value is *amount of images* x *20*.
 Default: 250.
### Learning Rate
* Higher learning rate can lead to faster training, but also could lead to the style overfitting to the data. A low learning rate will take more time to train.
Default: 250.
### Learning Rate
* Higher learning rate can lead to faster training, but also could lead to the style overfitting to the data. A low learning rate will take more time to train.
 Default: 0.004 (4e-3)
### Batch Size
* Higher batch sizes can speed up training, but also lead to generic results. Adjusting the **Batch Size** and **Learning Rate** proportionally is recommended. For small datasets stick to our default.
Default: 0.004 (4e-3)
### Batch Size
* Higher batch sizes can speed up training, but also lead to generic results. Adjusting the **Batch Size** and **Learning Rate** proportionally is recommended. For small datasets stick to our default.
 Default: 1
## 3. Alchemy
Once the style is trained, it's time to experiment. Prompt gods - *this is where you pop off.*
### Push the Style:
* Go above and beyond. Find strengths and shortcomings. Discover and document when the style generates great results, and when it doesn't.
* **If the outputs are overfit to the style, consider:**
* Diversifying the training data
* Reducing the learning rate
* **If the outputs are too varied, consider:**
* Adding more images to the data set
* Removing weak or diverse images from the data set
* Increasing the learning rate
Remember: Krea saves each set of style training data. Simply reuse the data whenever you need to refine a style.
Based on these very similar sample generations, this style may be overfit. Try again.
### Retraining
* **Try a different model**
* One model may be better than an another to capture your style. Shop around, that's what Krea is for. Refer to the model chart above if you're unsure.
* **Merge datasets**
* Combining two or more datasets can create truly unique aesthetics. When stuck or frustrated with the limitations of a style, infuse it with new life.
* **Keep Experimenting**
* Increase or decrease the number of images.
* Ensure all your images are high resolution.
* Tinker with Krea's fine tuning settings.
## Keep Creating
Krea has everything you need to make fire custom styles. Show us your work by making your styles public on [Krea.ai](https://www.krea.ai/app) or share and build community on our [Discord](https://discord.com/invite/rJurUAR8Kz).
Default: 1
## 3. Alchemy
Once the style is trained, it's time to experiment. Prompt gods - *this is where you pop off.*
### Push the Style:
* Go above and beyond. Find strengths and shortcomings. Discover and document when the style generates great results, and when it doesn't.
* **If the outputs are overfit to the style, consider:**
* Diversifying the training data
* Reducing the learning rate
* **If the outputs are too varied, consider:**
* Adding more images to the data set
* Removing weak or diverse images from the data set
* Increasing the learning rate
Remember: Krea saves each set of style training data. Simply reuse the data whenever you need to refine a style.
Based on these very similar sample generations, this style may be overfit. Try again.
### Retraining
* **Try a different model**
* One model may be better than an another to capture your style. Shop around, that's what Krea is for. Refer to the model chart above if you're unsure.
* **Merge datasets**
* Combining two or more datasets can create truly unique aesthetics. When stuck or frustrated with the limitations of a style, infuse it with new life.
* **Keep Experimenting**
* Increase or decrease the number of images.
* Ensure all your images are high resolution.
* Tinker with Krea's fine tuning settings.
## Keep Creating
Krea has everything you need to make fire custom styles. Show us your work by making your styles public on [Krea.ai](https://www.krea.ai/app) or share and build community on our [Discord](https://discord.com/invite/rJurUAR8Kz).