Requesting a Refund
Eligibility Requirements
To be eligible for a refund, you must meet the following criteria:- Active subscription: You must have an active paid subscription
- Usage limit: To be eligible for a refund, workspace usage must be below 650 compute units and must have less than 20 generations for the current month.
- Timing: Refund requests are typically processed for recent charges
How to Request a Refund
- Open the Stripe Customer Portal
- Log in to your Krea.ai account
- Go to the Billing page
- Click the “Manage Subscription” button to open the Stripe customer portal
- Cancel and Receive Your Refund
- When you cancel your subscription in the Stripe portal, our system will automatically check your workspace for refund eligibility based on the criteria listed above.
- If you are eligible, you will be automatically offered a refund during the cancellation flow — no extra steps needed.
Refund Processing Time
- You will receive an email confirmation shortly after requesting a refund
- Refunds typically take 5-10 business days to appear in your account
- The exact timing depends on your payment provider and bank
Common Billing Issues
Failed Payment Attempts
If you’re experiencing failed payment attempts:- Check Card Details
- Verify your card information is correct
- Ensure your card hasn’t expired
- Check that you have sufficient funds
- Contact Your Bank
- Some banks may block international transactions
- Verify that online/recurring payments are enabled
- Try Alternative Payment Method
- If issues persist, try using a different card
- Consider using an alternative payment method
- We support Credit/Debit Cards, Google Pay, US Bank Accounts, Amazon Pay and Cash App Pay
Duplicate or Unexpected Charges
If you see duplicate charges:- Check Your Subscription Status
- Visit your Billing page to view your billing and subscription details
- Verify you don’t have multiple active subscriptions
- This could be due to having a team plan and a personal plan
- Review Recent Transactions
- Sometimes pending charges may appear as duplicates
- Wait 24-48 hours for transactions to settle
- Make sure your past payments went through
- Sometimes payments for past months fail so we attempt to charge your card multiple times
- Monthly plans charge every month, and if a payment fails the month before, that invoice stays outstanding until it’s paid
- If you get charged twice in a month, your payments might’ve been overdue from prior months
Auto-Renewal Information
Important: All paid subscriptions are set to auto-renew by default.- Subscriptions renew on the same date each month
- You will be charged the subscription amount automatically
- To prevent auto-renewal, you must manually cancel your subscription
Frequently Asked Questions
Q: I accidentally subscribed to an annual plan when I only wanted a monthly plan
You can switch from an annual plan to a monthly one. The change is scheduled and will take effect at the end of your current annual billing period. To switch, go to the Pricing page, make sure the monthly toggle is selected, and choose your desired plan.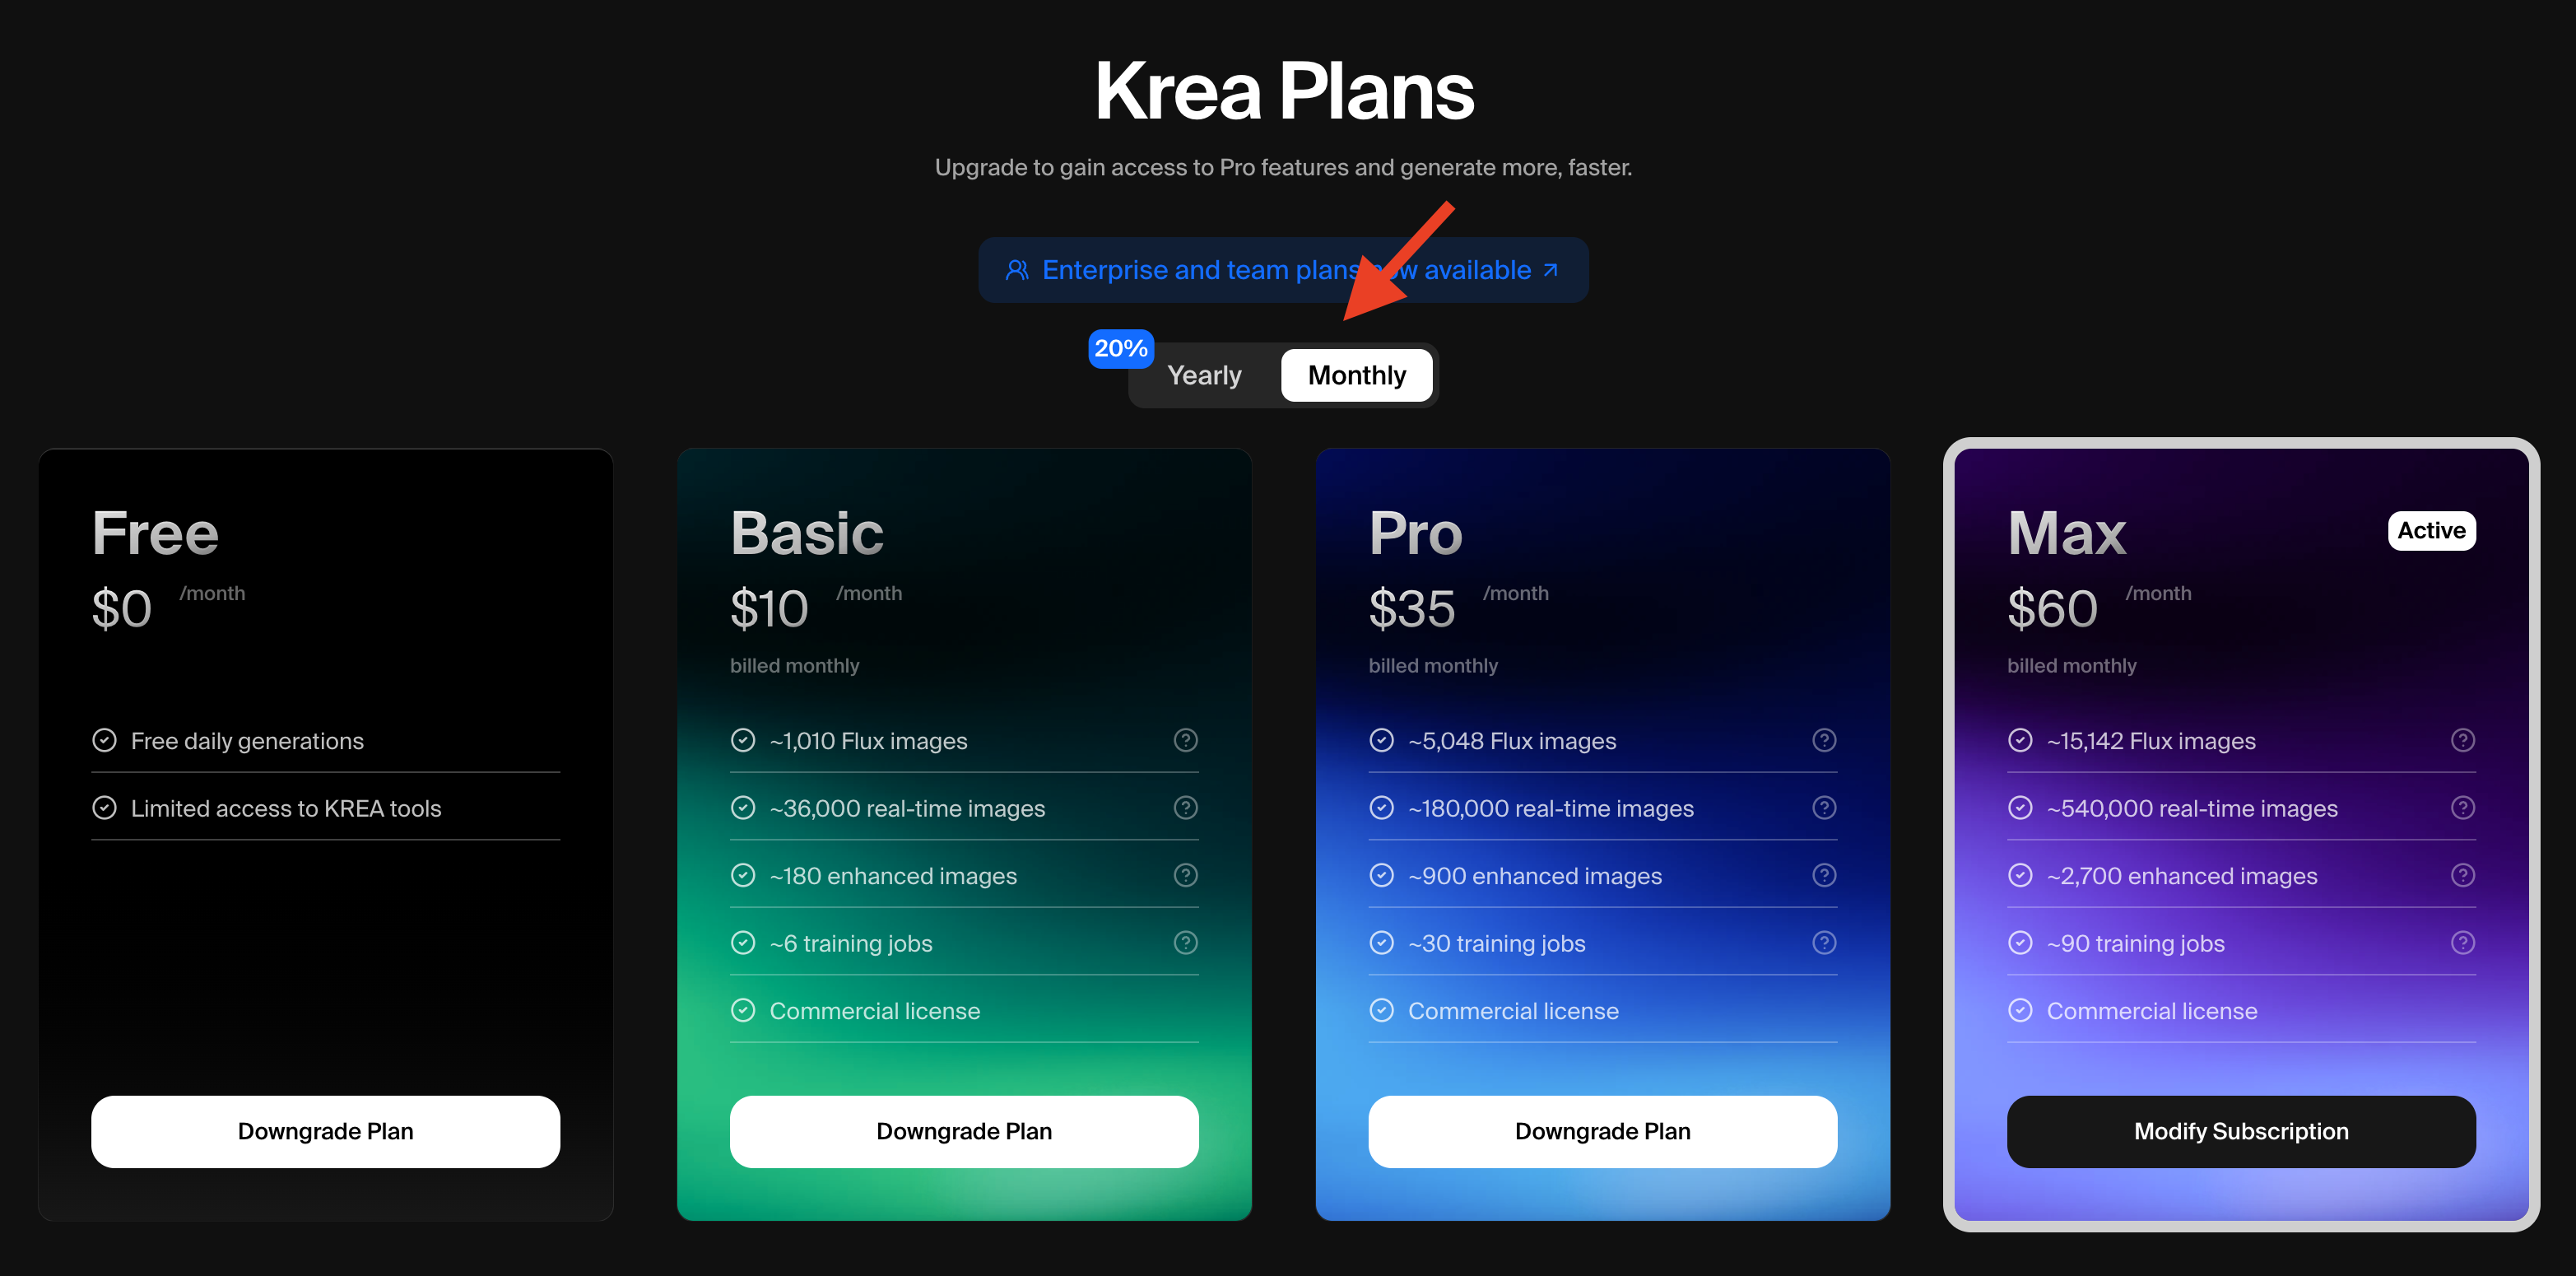
I was charged but can’t access premium features
- Log out and log back in to refresh your account status
- Clear your browser cache
- Ensure you’re using the same email address associated with your subscription
- Sometimes it may take 12-24 hours for your account status change to be reflected in our systems. If it takes longer, reach out to help@krea.ai.
Why was my payment unsuccessful?
Common reasons include:- Insufficient funds
- Expired card
- Bank blocking international transactions
- Incorrect card information
How do I update my payment method?
- Go to your Account Details page
- Navigate to the Billing section
- Click “Update Payment Method”
- Enter your new payment information
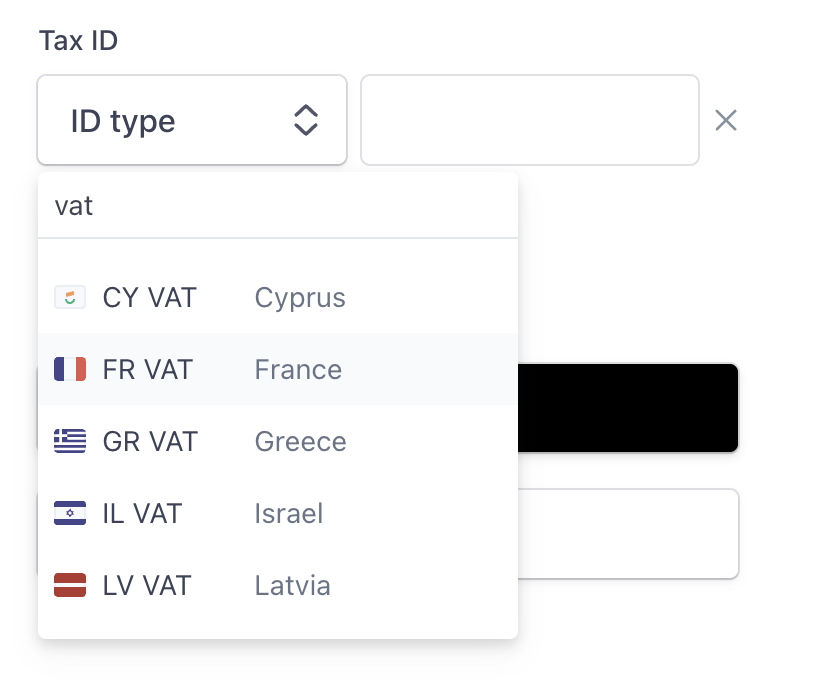
Q: How do I add a VAT number/Tax ID for invoicing?
A:- Go to your Account Settings page
- Navigate to Stripe by clicking “Update Subscription” or any alternate method
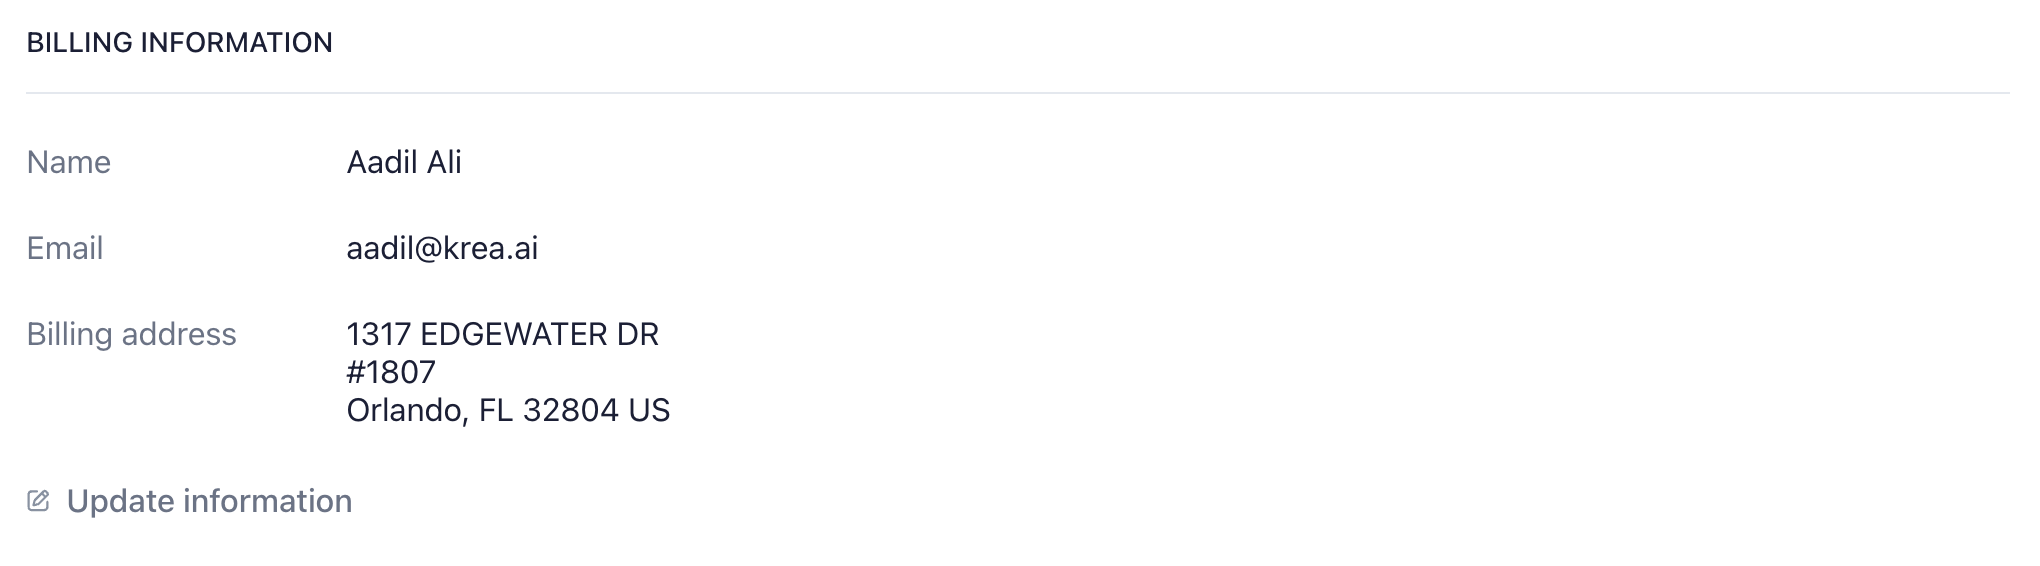
- Once in Stripe, scroll until you see Billing Information, then click “Update Information”
- From there, scroll until you see “Tax ID”, then you should be able to add whatever you need