- Change Region
- Annotate
- Crop or Expand
- Image Adjustments
- Change Lighting
- Draw
- Change Camera Angle
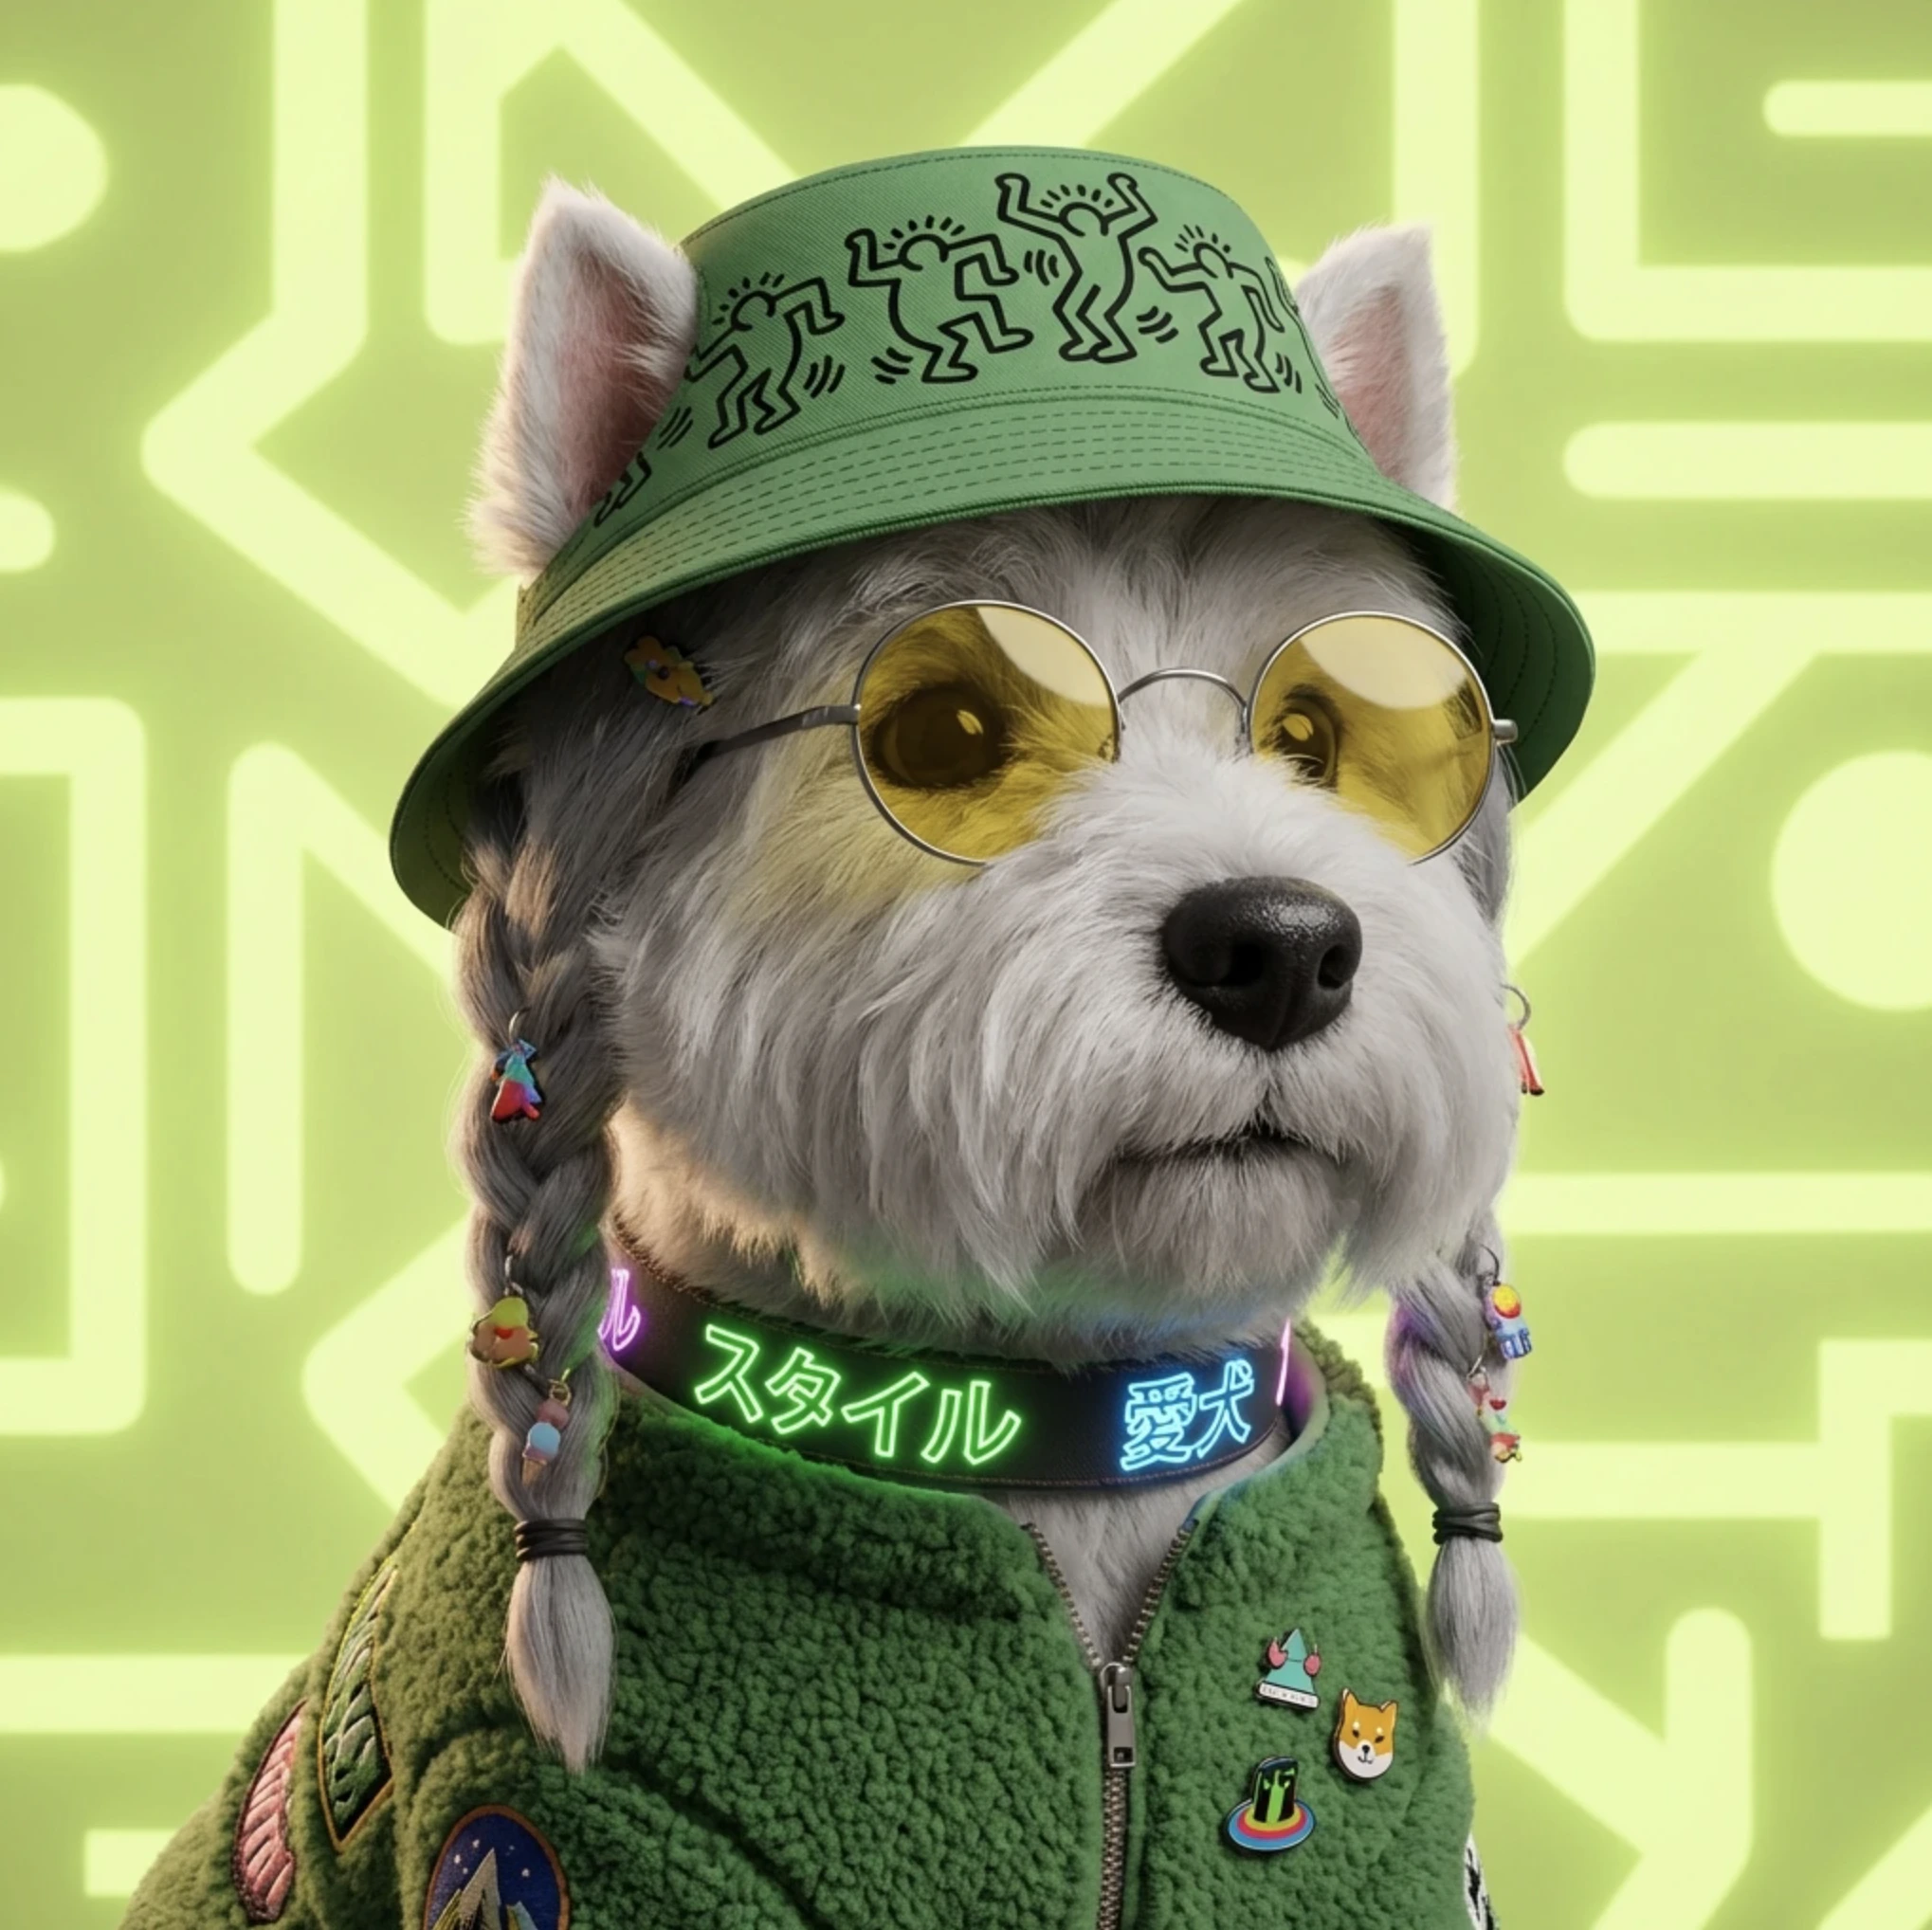
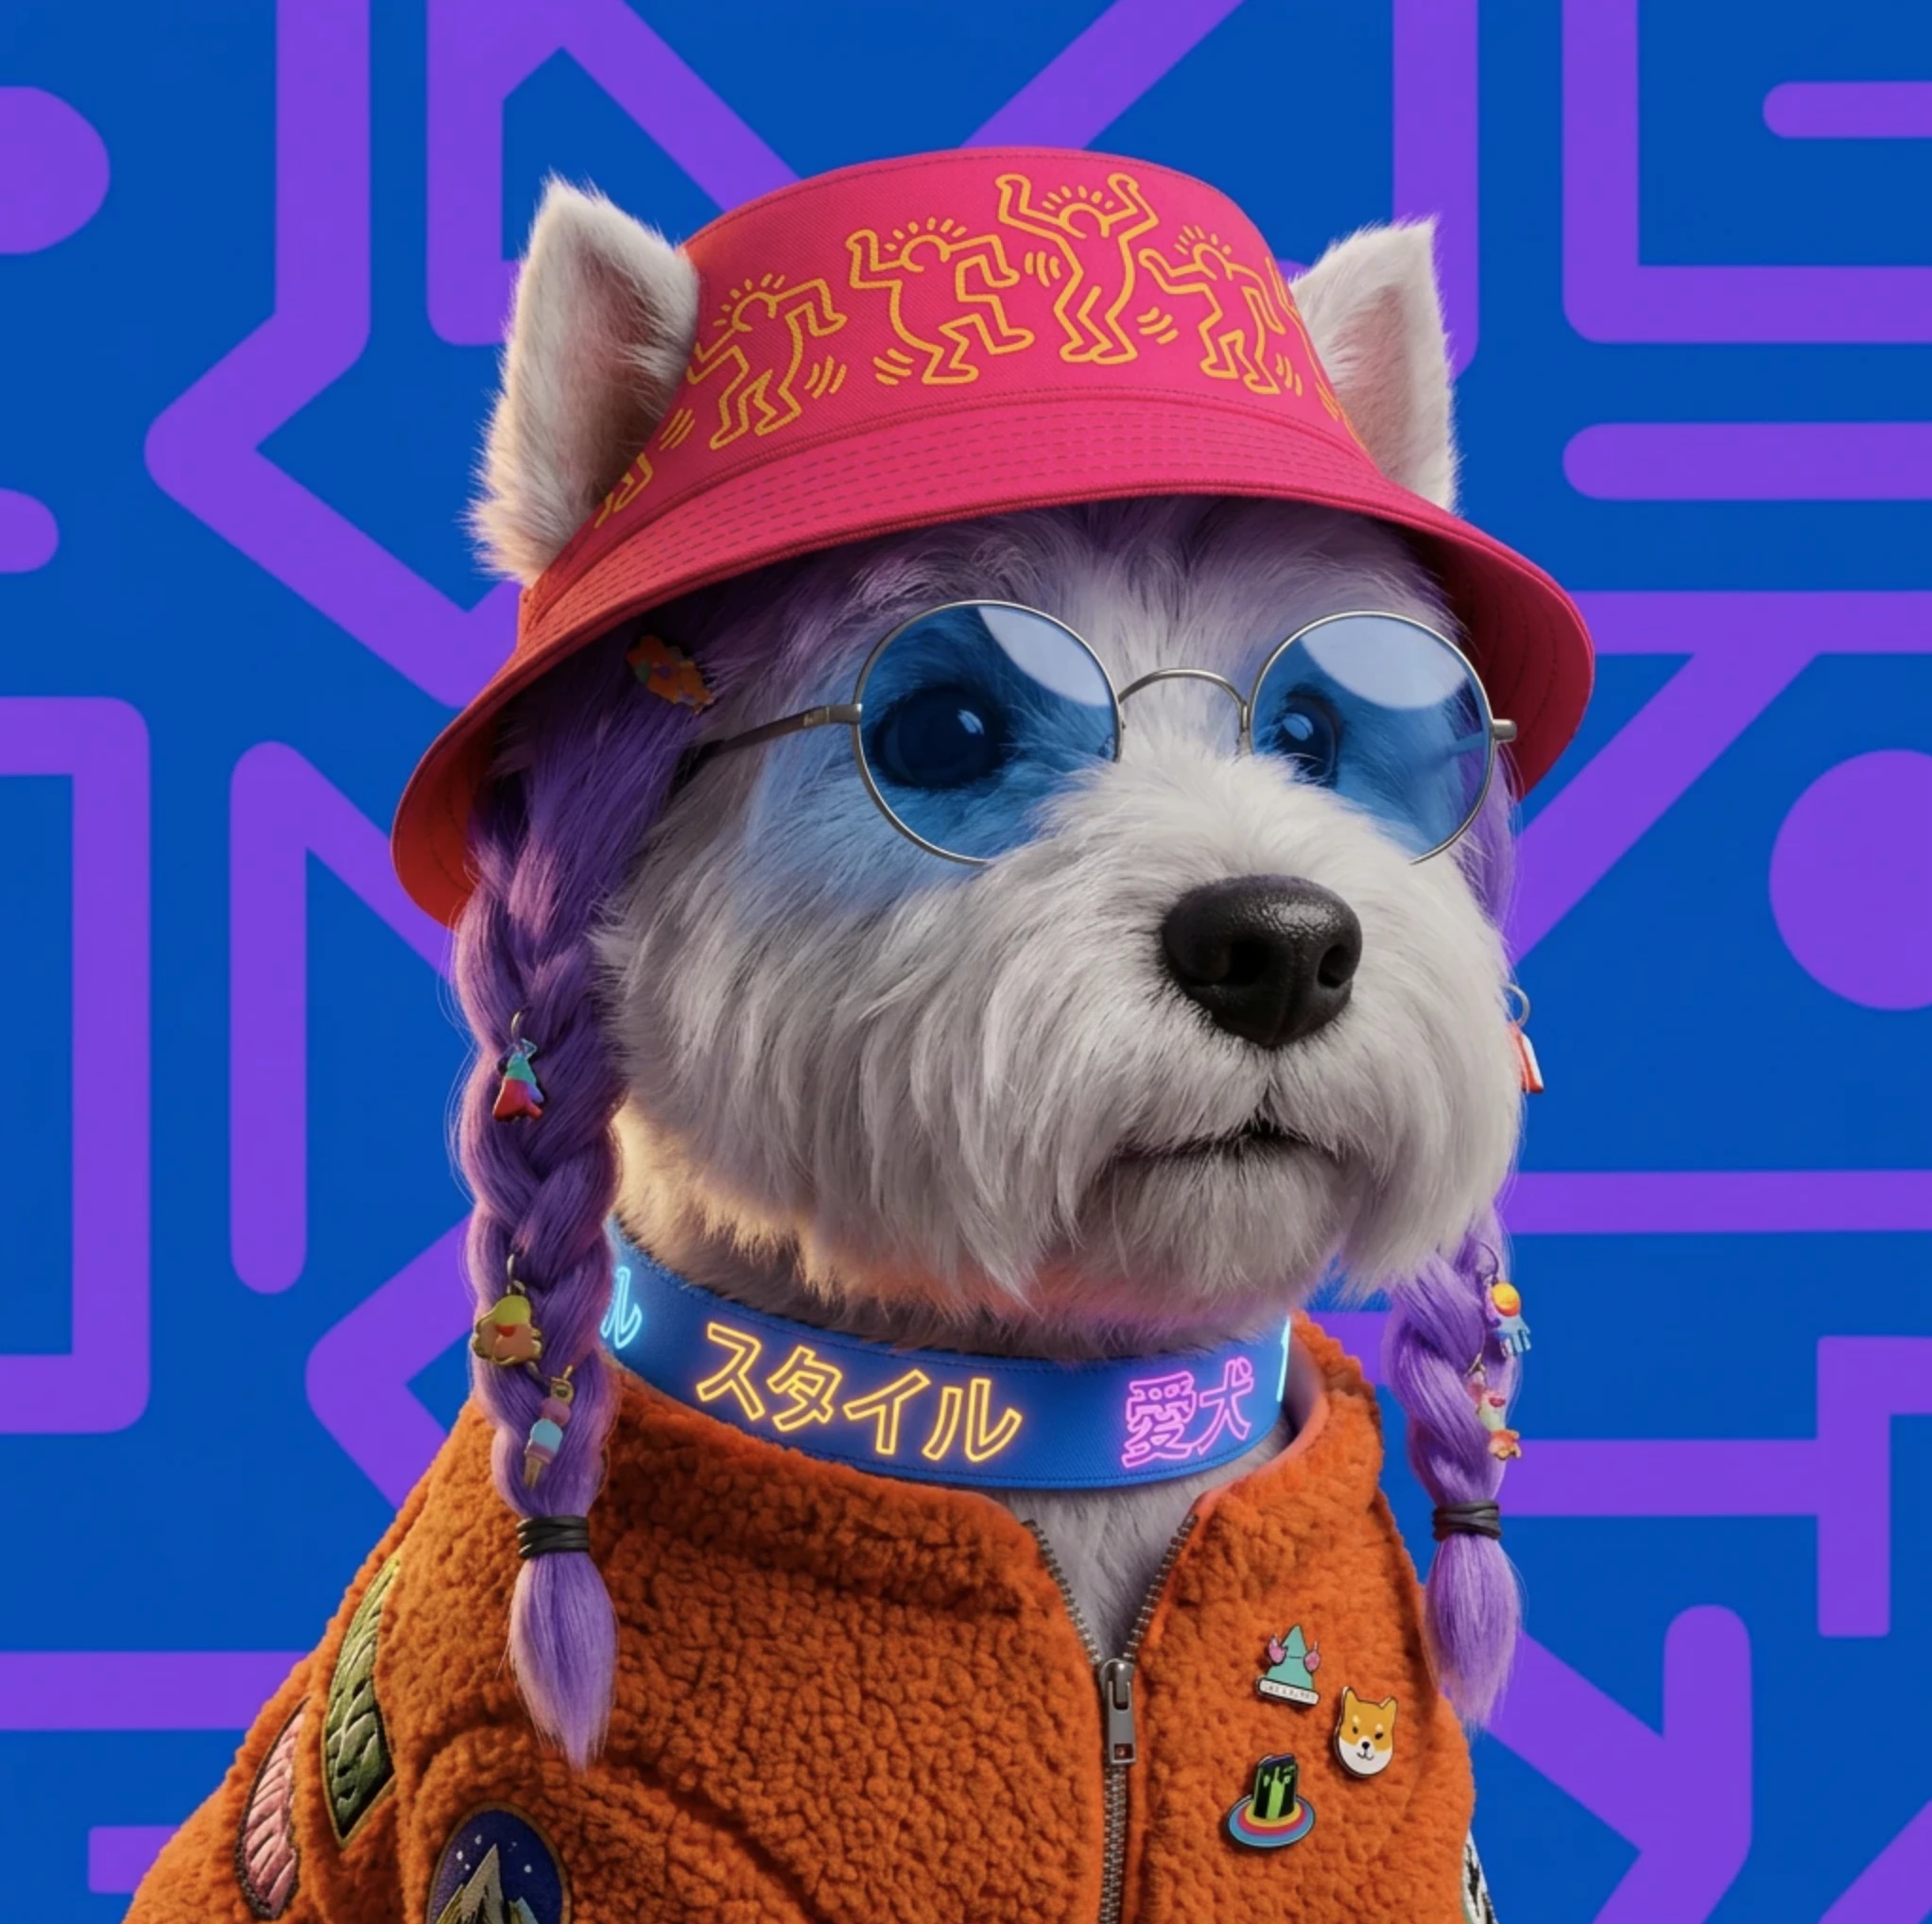
- Color Palette
Change Region
Change Region lets you select a specific part of your image and replace or modify it using a text prompt.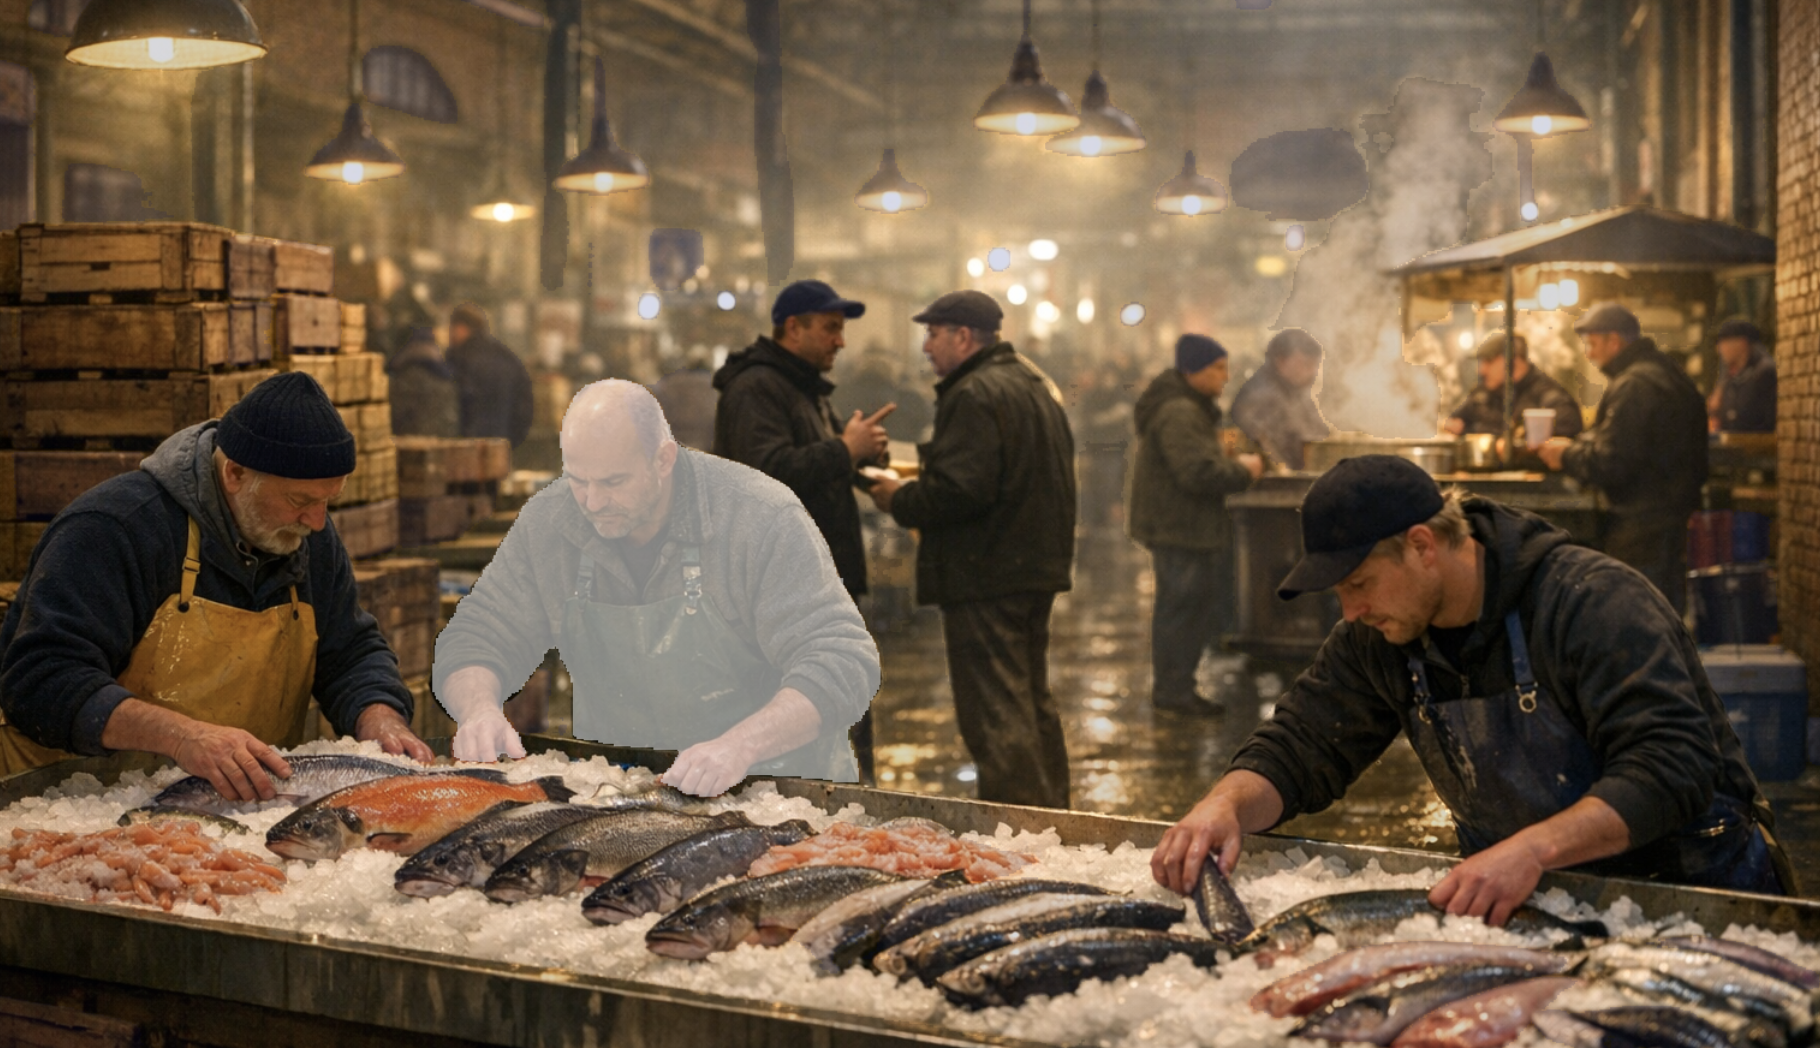
- Select the entire image, or draw a custom region using the brush tool. If you go with the brush, you can adjust the brush size to make your selection as precise as you need.
- Alternatively, you can draw a rectangle around the part of the image you want to change, or use the Auto Mask feature.
- Auto Mask is particularly handy: simply hover over the image and it will automatically detect and highlight a region for you.
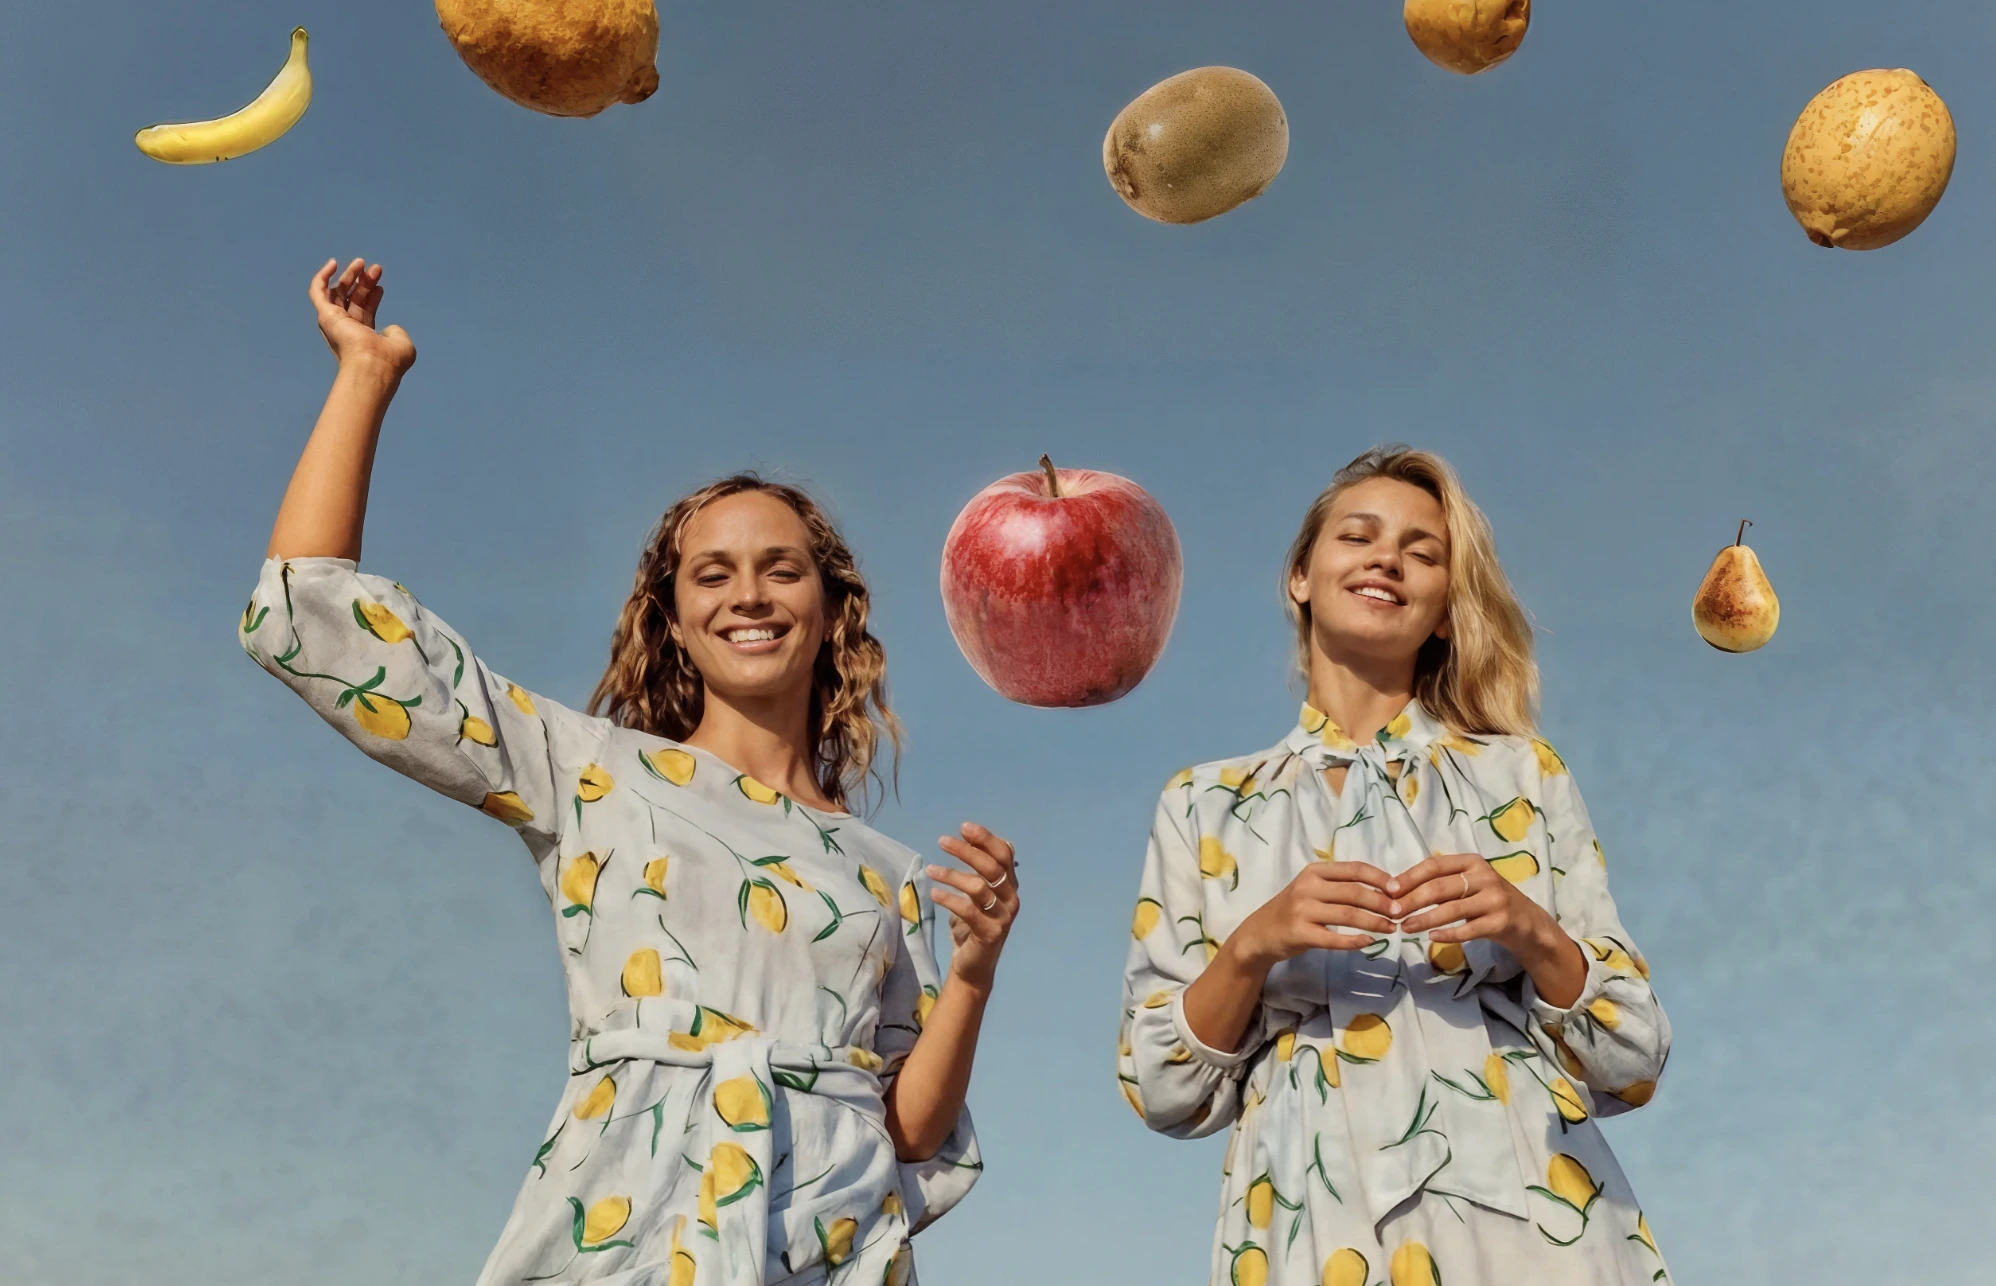
Annotate
Annotate gives you precise control over the contents of your image by letting you define specific regions and assign a separate text prompt to each one. Rather than prompting the image as a whole, you can target individual areas and describe exactly what you want to appear there.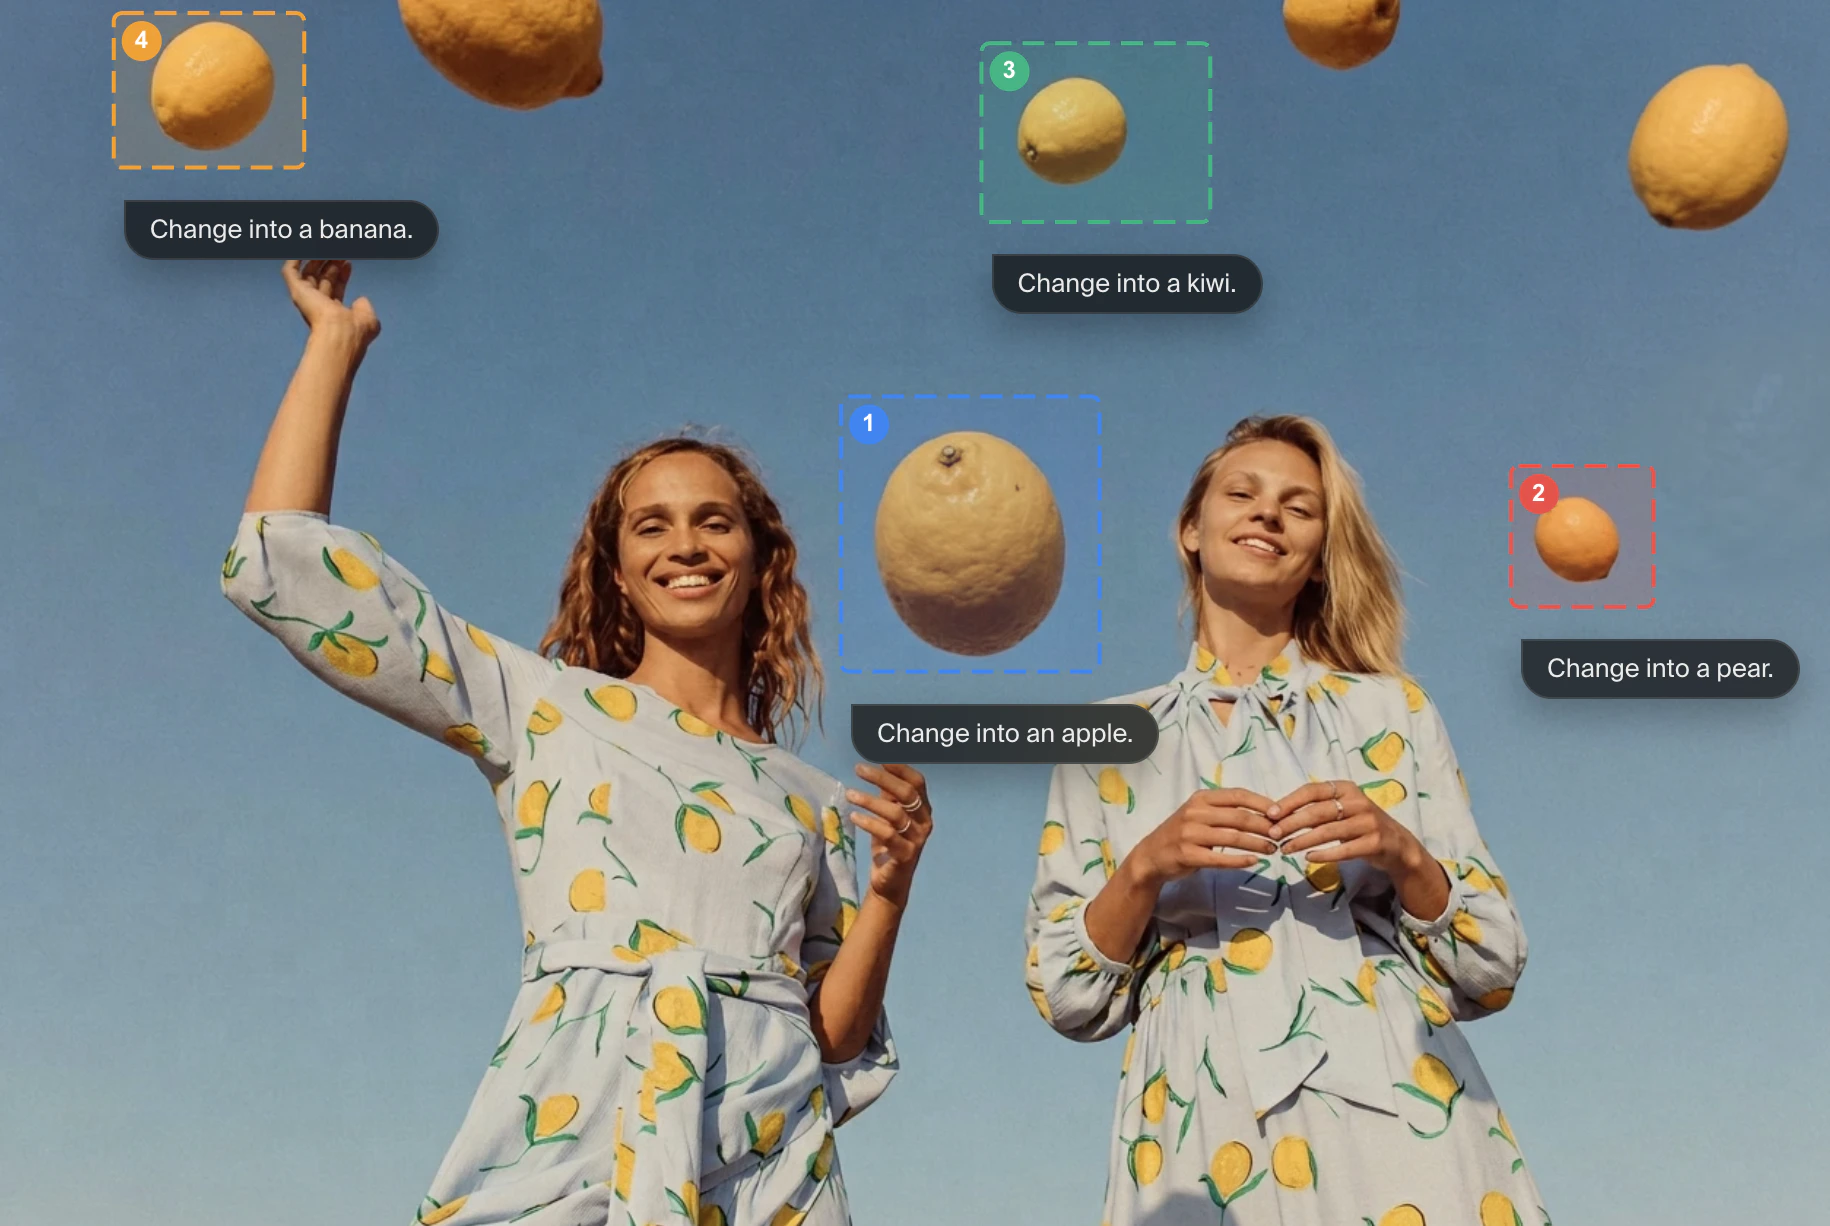
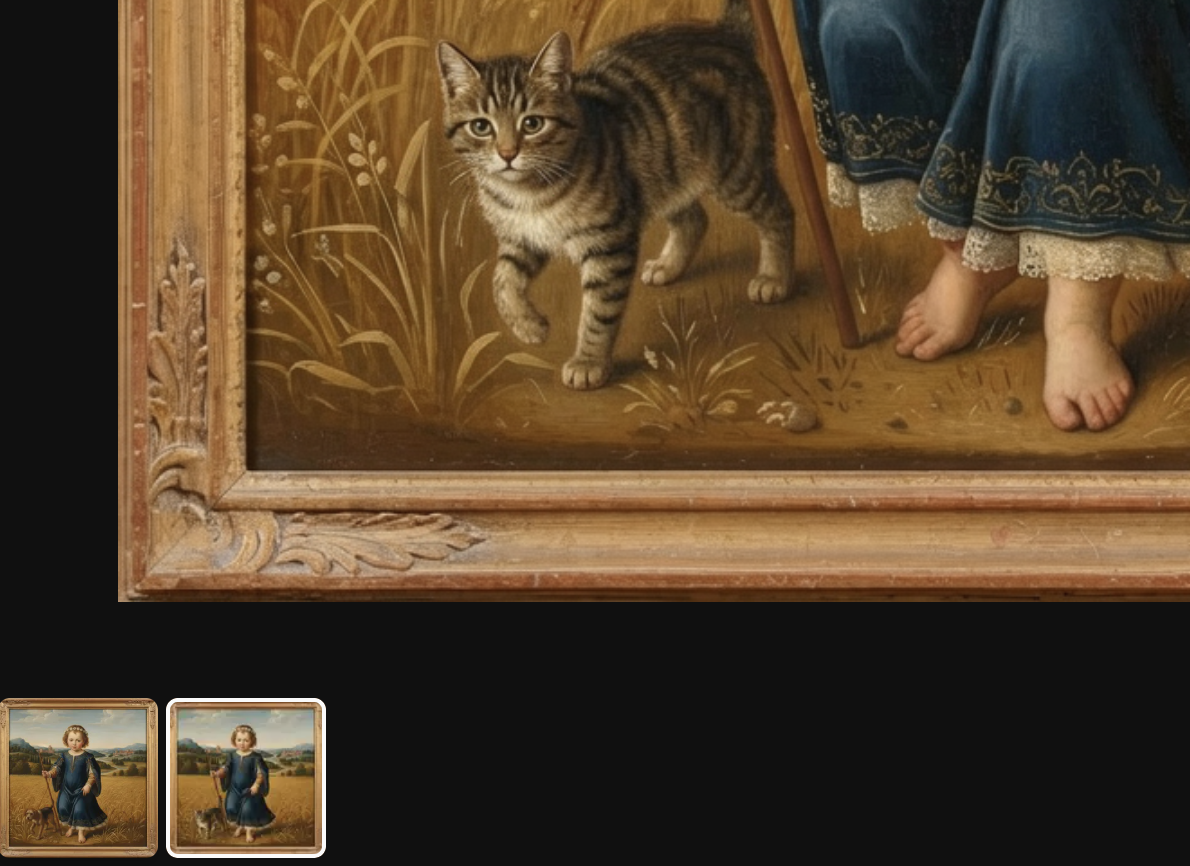
Crop or Expand
Crop & Expand lets you resize the canvas beyond the boundaries of your original image, with the AI generating new content to fill in the added space. Rather than simply stretching or distorting the existing image, the model analyzes the scene and synthesizes new visual information that blends naturally with what’s already there, extending skies, continuing landscapes, or filling in background details in a way that feels consistent with the original. Expand is also useful when you need to change the aspect ratio of an image after the fact, for example to fit a particular layout or platform requirement, or when you want to reveal more of a scene that feels too tightly cropped. It can also be a creative tool in its own right, letting you expand the world of an image beyond what was originally generated.Image Adjustments
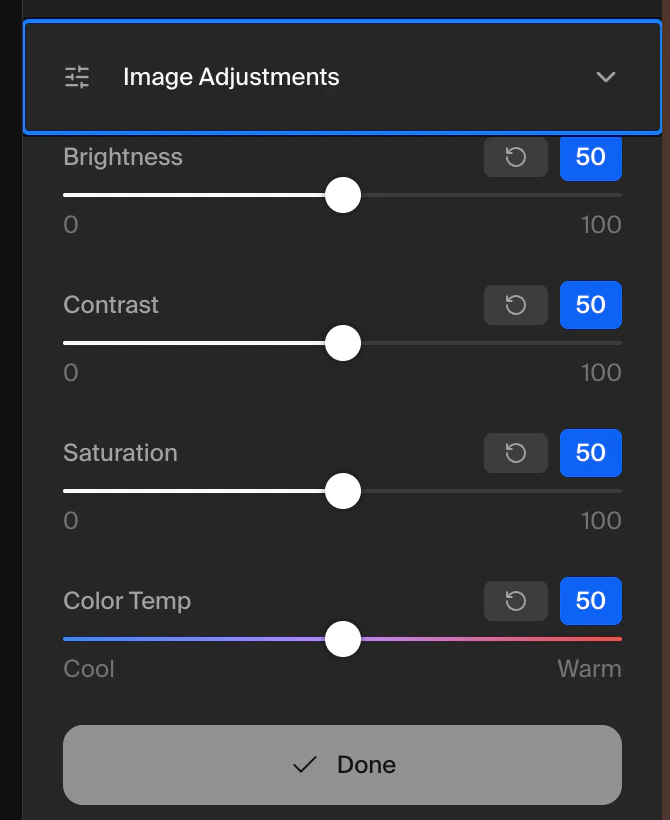
Image Adjustments gives you manual control over the core visual properties of your image. Think of it as the equivalent of basic photo editing controls you’d find in a tool like Lightroom or the Photos app on your phone, but built directly into your Krea workflow. Each slider works independently, so you can dial in exactly the look you’re after.- Brightness: controls how light or dark the overall image appears.
- Contrast: adjusts the difference between the lightest and darkest areas, which can make an image feel more punchy and defined or softer and flatter depending on which direction you push it.
- Saturation: controls the intensity of the colors, from fully desaturated black-and-white all the way to vivid, highly saturated tones.
- Color temperature: shifts the overall warmth of the image, letting you push it toward cooler blues or warmer ambers.
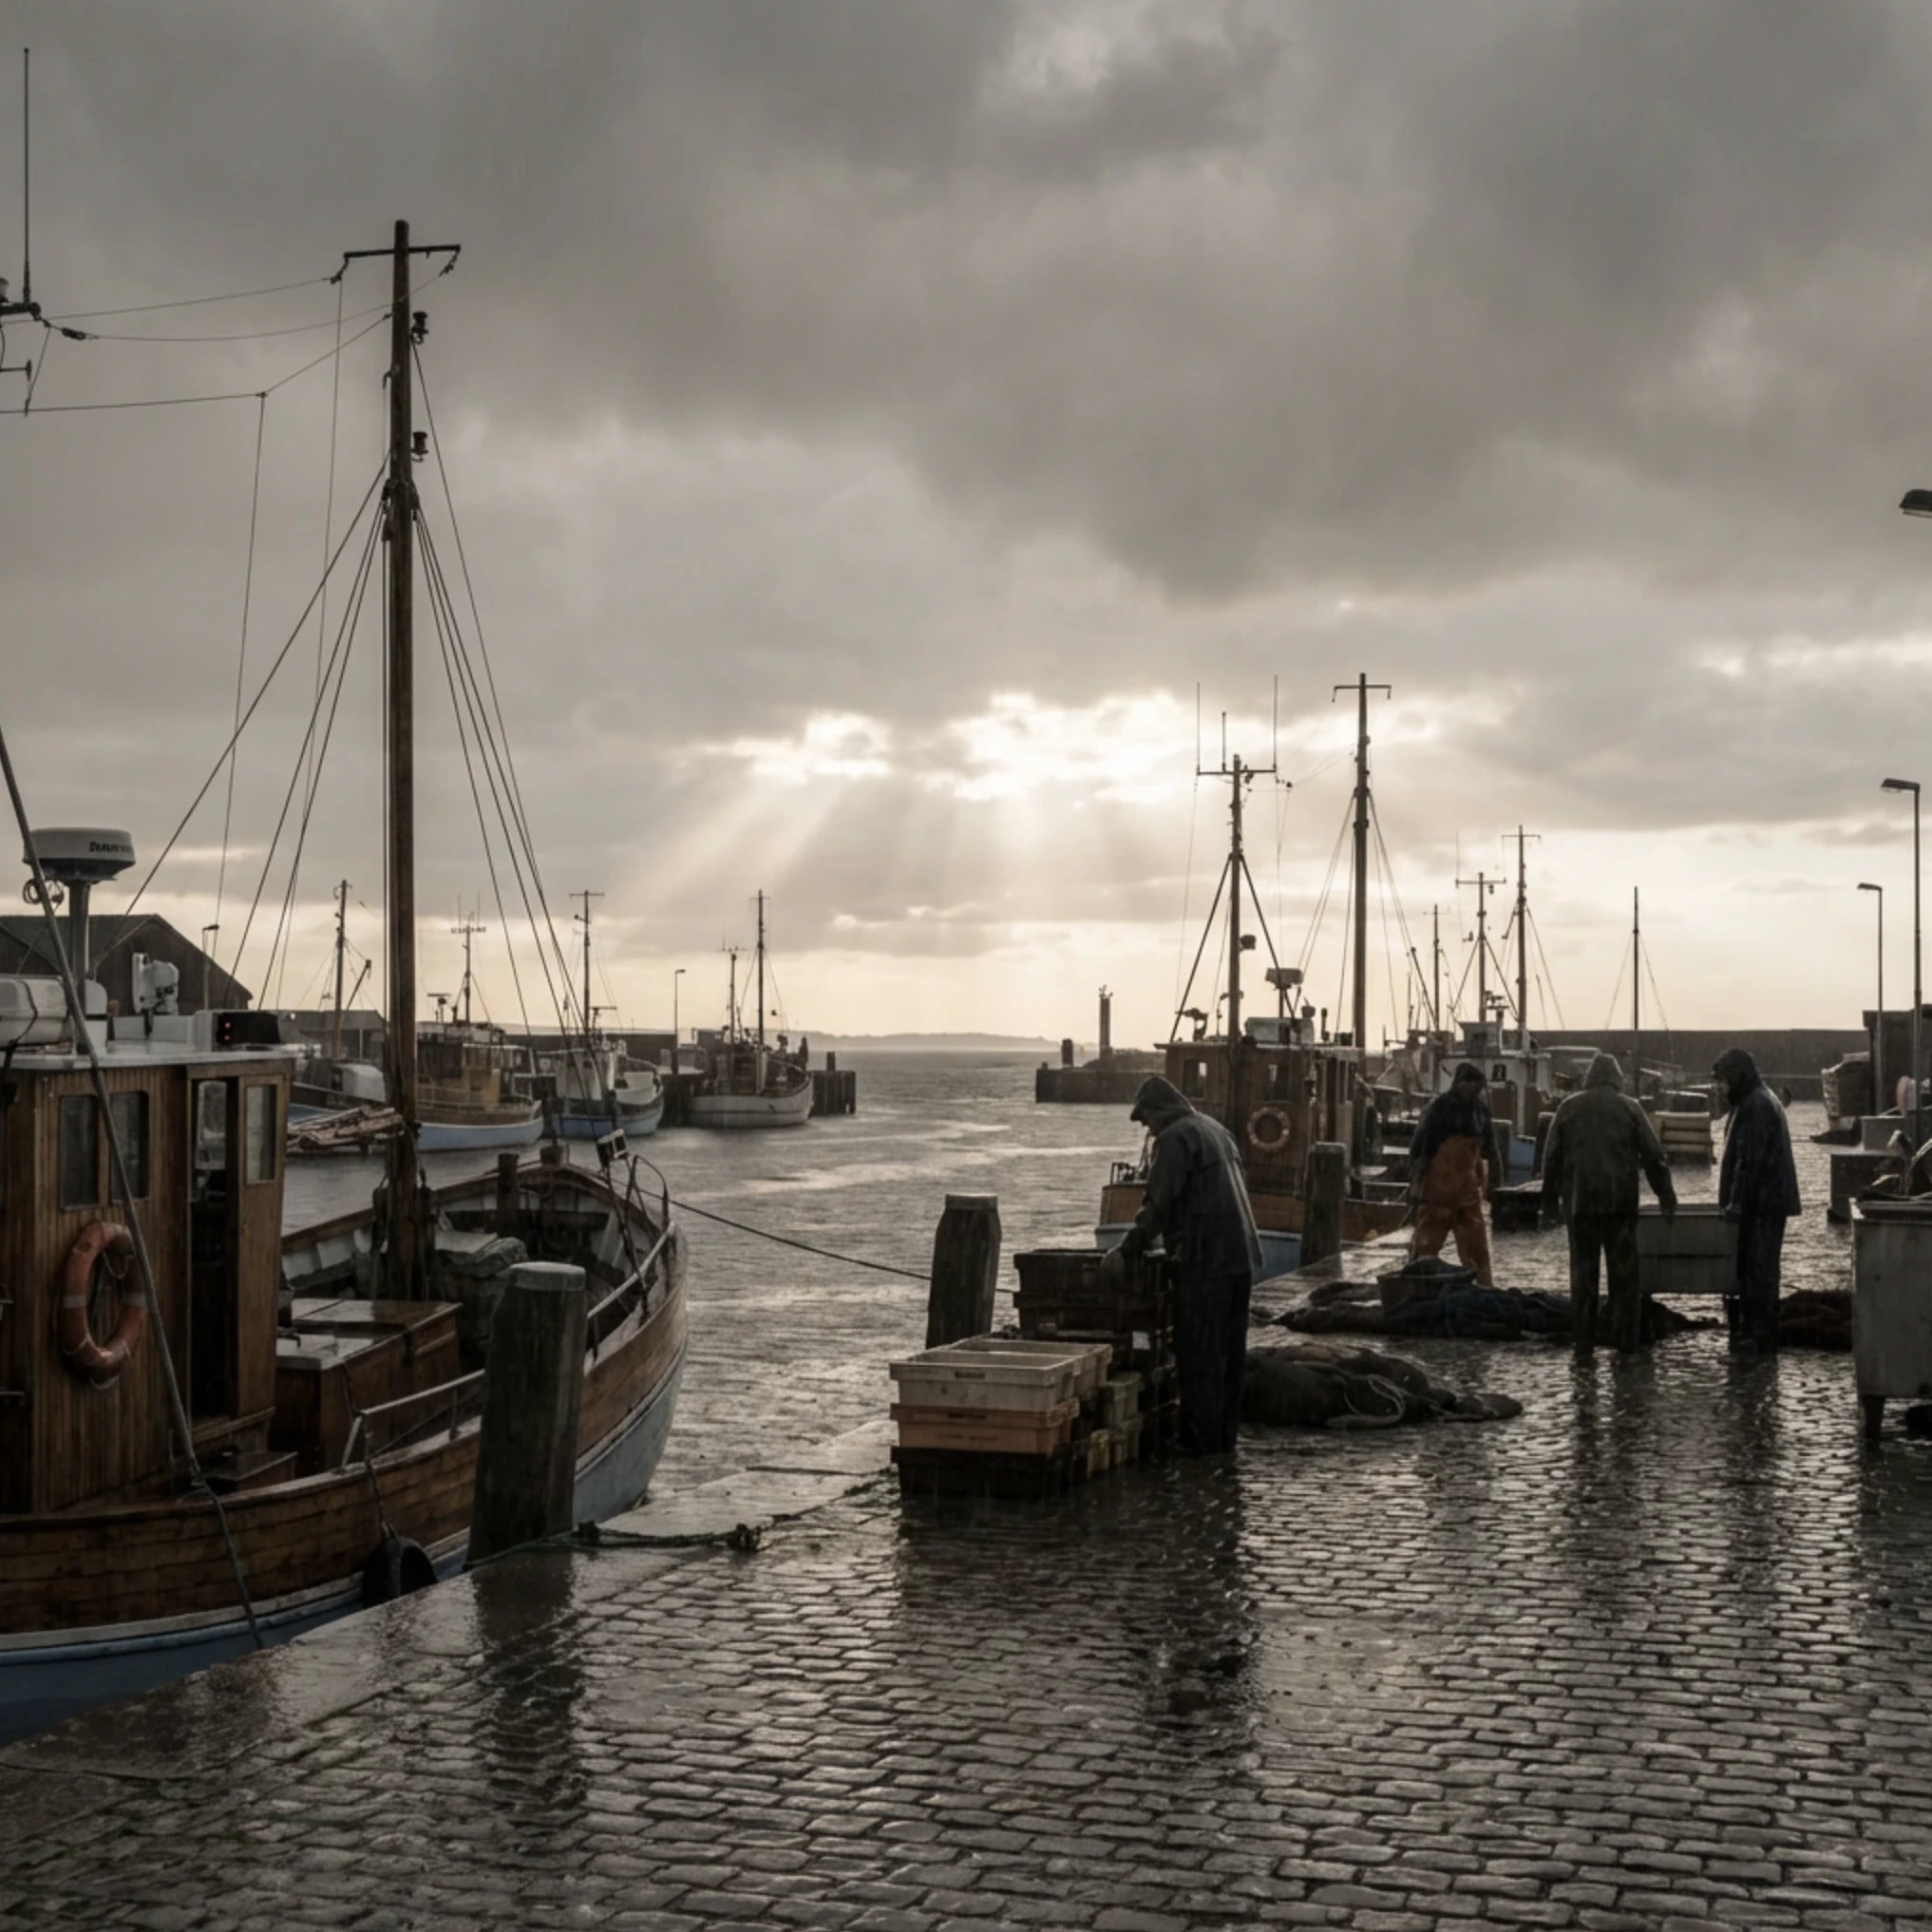
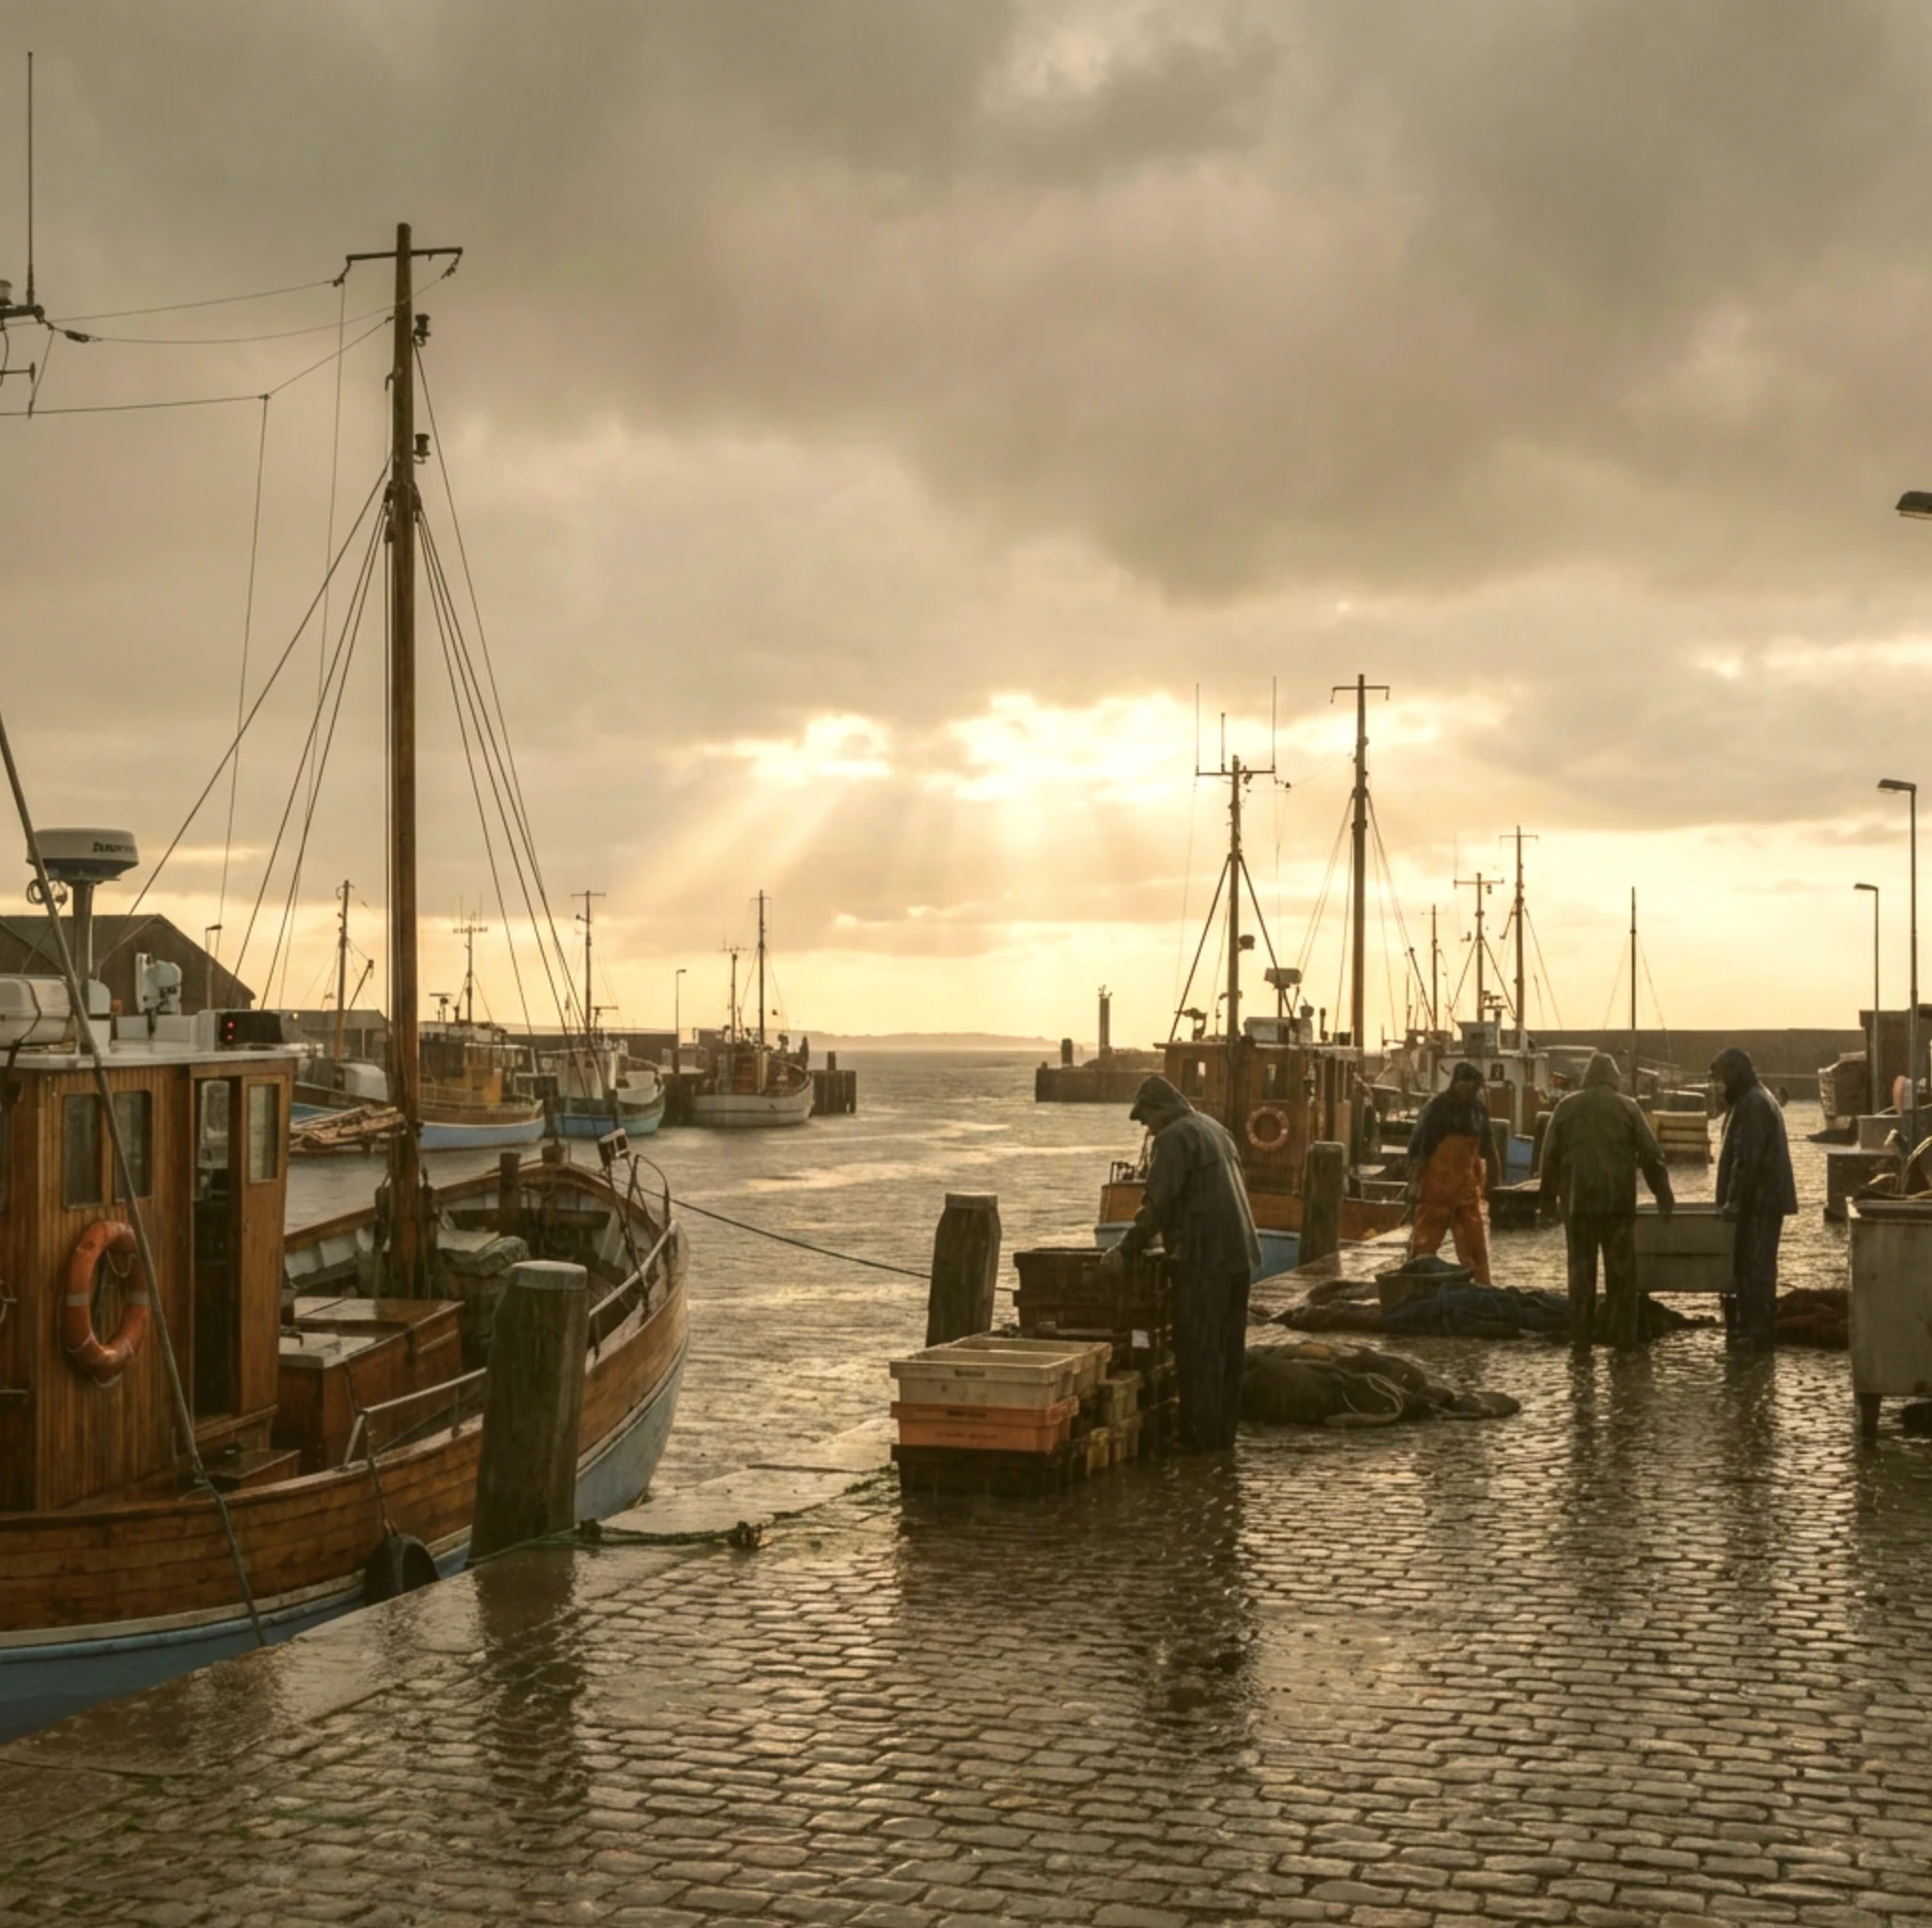
Change Lighting
Change Lighting lets you relight your image after it has already been generated, giving you interactive control over where light sources are placed and how they affect the scene. Rather than having to regenerate an image from scratch because the lighting isn’t quite right, you can simply add, move, or adjust light sources directly on the canvas until the scene looks the way you want.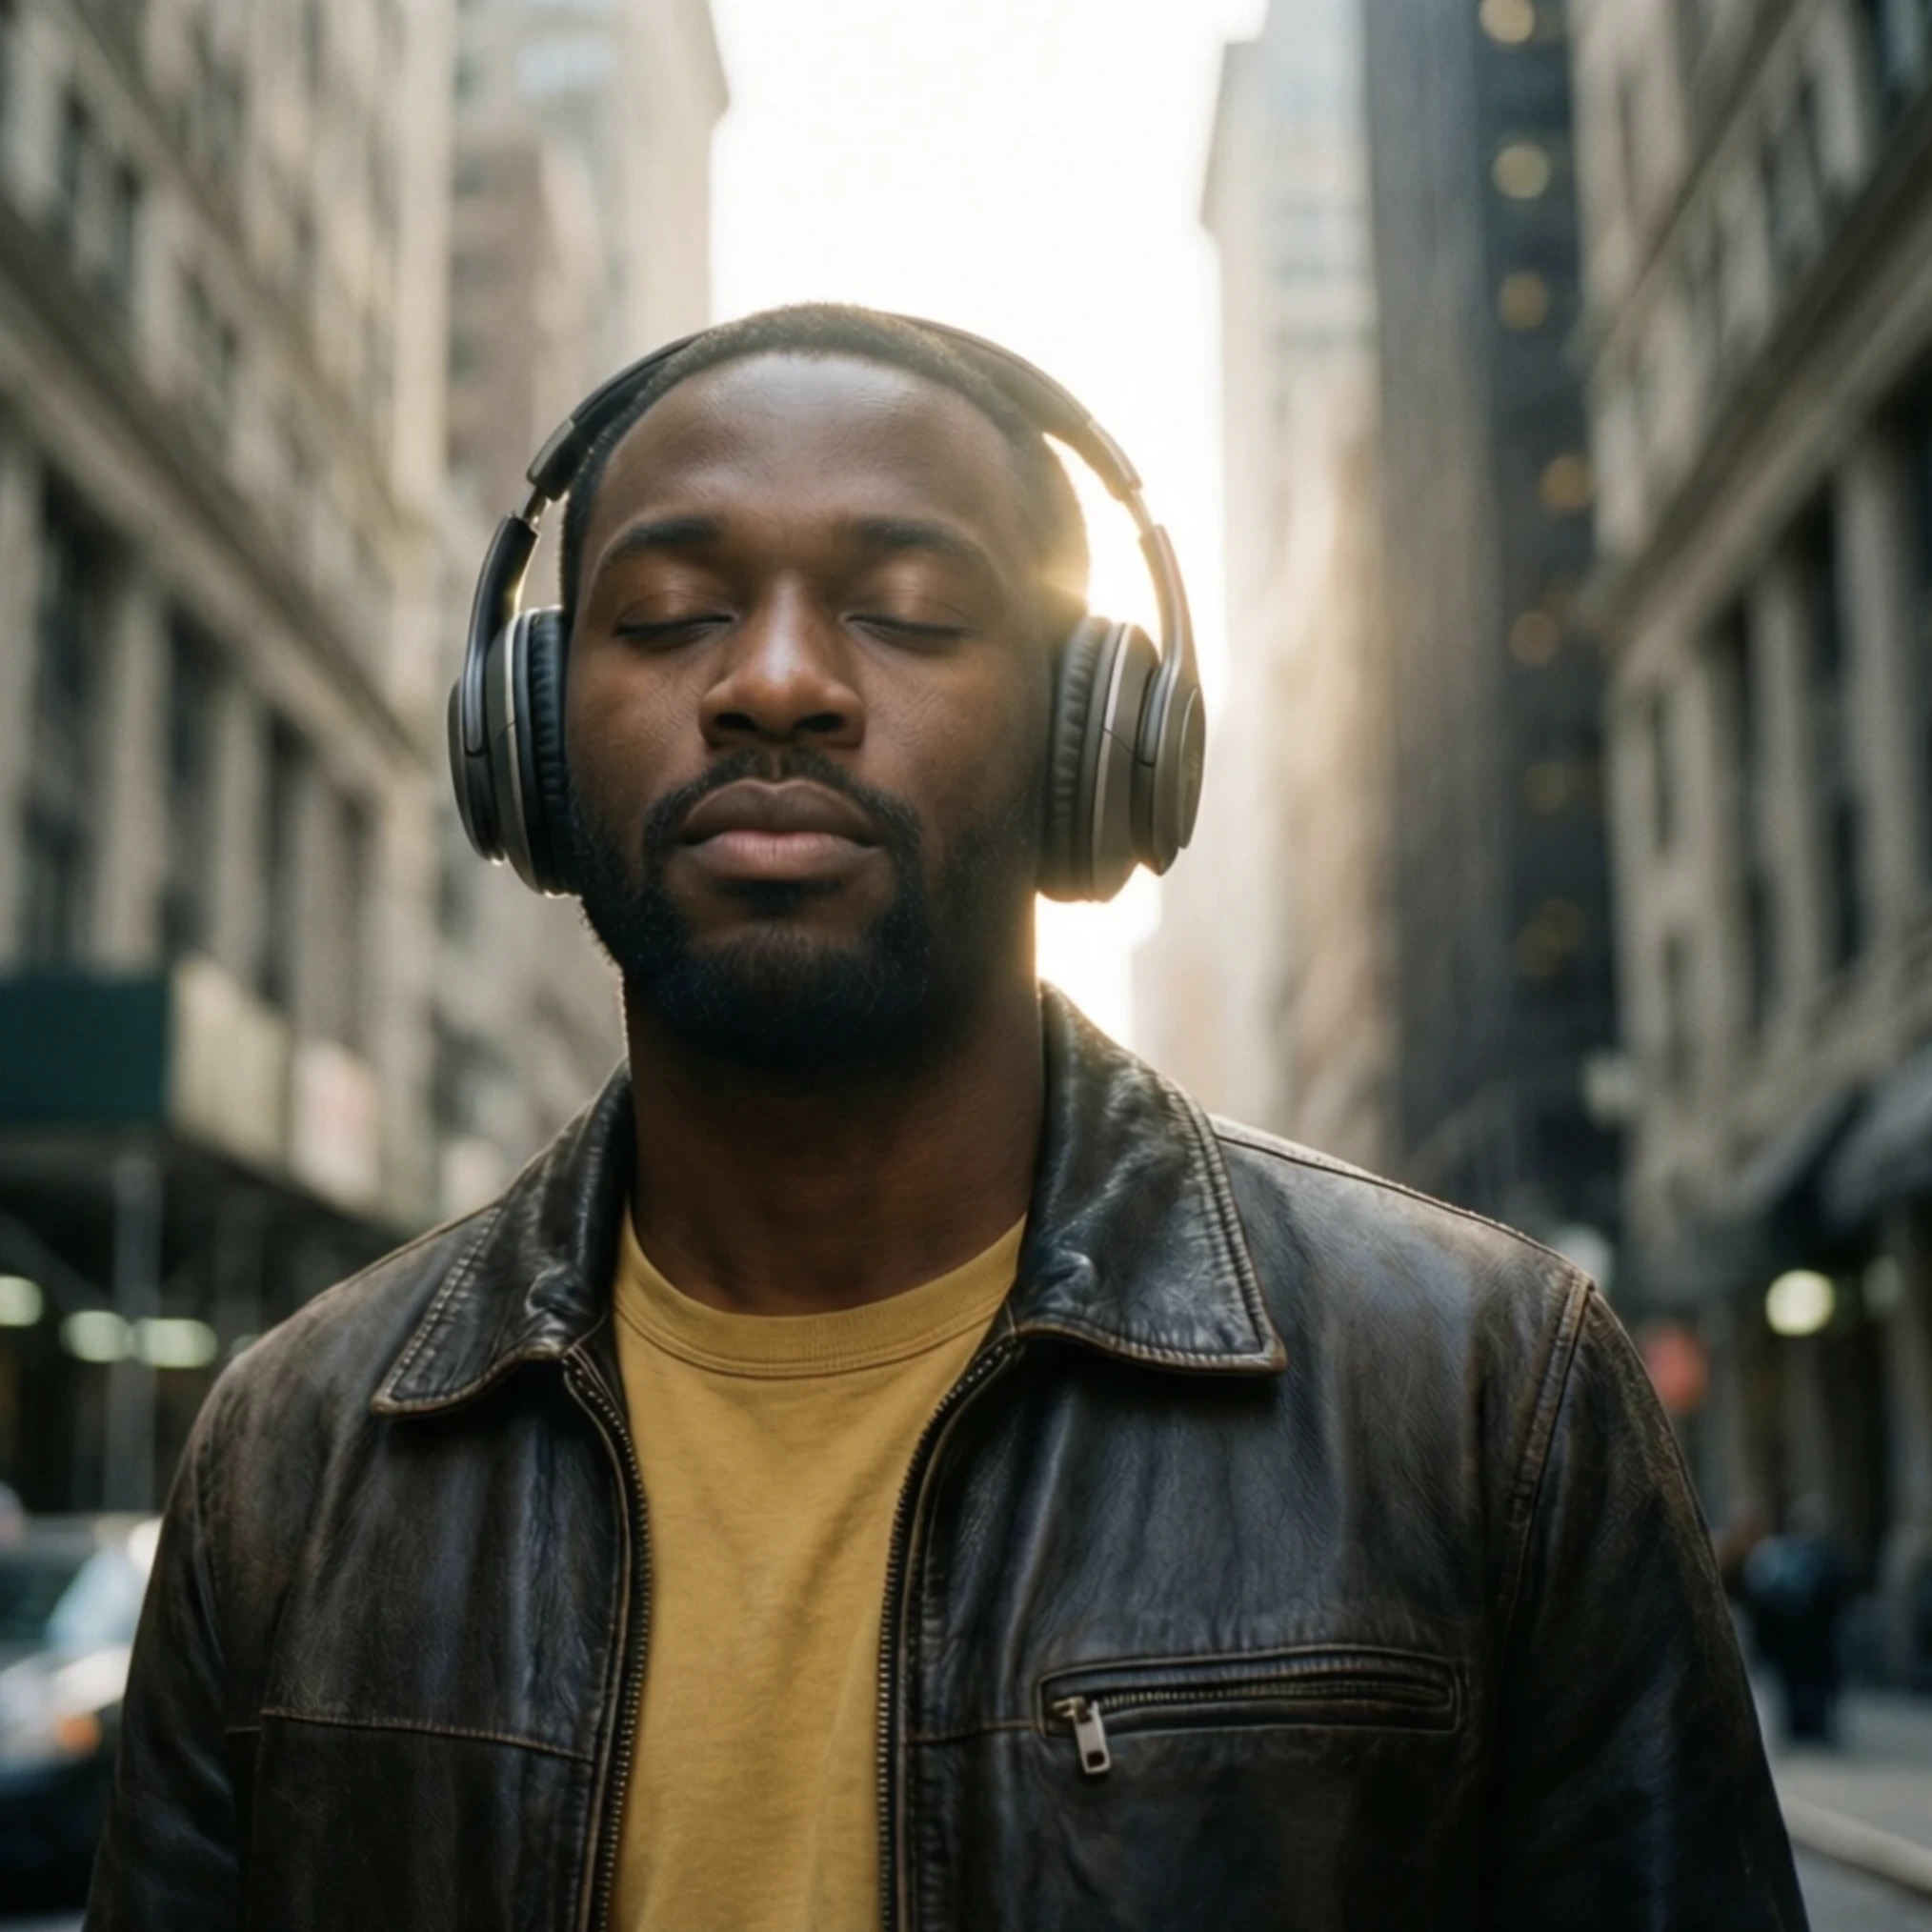
Draw
Draw lets you paint directly onto the canvas using a brush tool, and then describe what you want that drawing to become. It works a bit like giving the AI a rough sketch as a visual instruction alongside a text prompt: you don’t need to be a skilled artist for this to work well. In fact, the rougher and more gestural your drawing, the more creative freedom the AI has to interpret it. Draw on the area of the canvas you want to change or add to, and then type a description of what you want to appear there. The AI uses both your drawing and your prompt together to generate the result, so the shape and placement of your brushstrokes act as a guide for where and how the new content appears. Draw is particularly useful when a text prompt alone isn’t giving you enough control over the composition. If you want a tree in a specific corner, a shadow falling in a particular direction, or an object placed in an exact spot, sketching it out gives the AI a much clearer spatial reference than words can always provide. You can also use it to add entirely new elements to an existing image, or to loosely indicate a mood or texture in a specific area.Change Camera Angle
Change Camera Angle lets you reframe your image by rotating the virtual camera around the subject, giving you the ability to view and generate the same scene from an entirely different perspective without starting over from scratch. There are three controls that work together to define the new angle. A portrait shot straight on can be shifted to a three-quarter angle for a more dynamic feel. A product image can be viewed from above or from a low, dramatic angle. A landscape can be reframed so the horizon sits higher or lower in the frame. It’s worth experimenting with small adjustments first to get a feel for how each control affects the result, as large shifts in angle can sometimes cause the AI to reinterpret parts of the scene. Subtle changes often produce the most coherent and natural-looking results.Color Palette
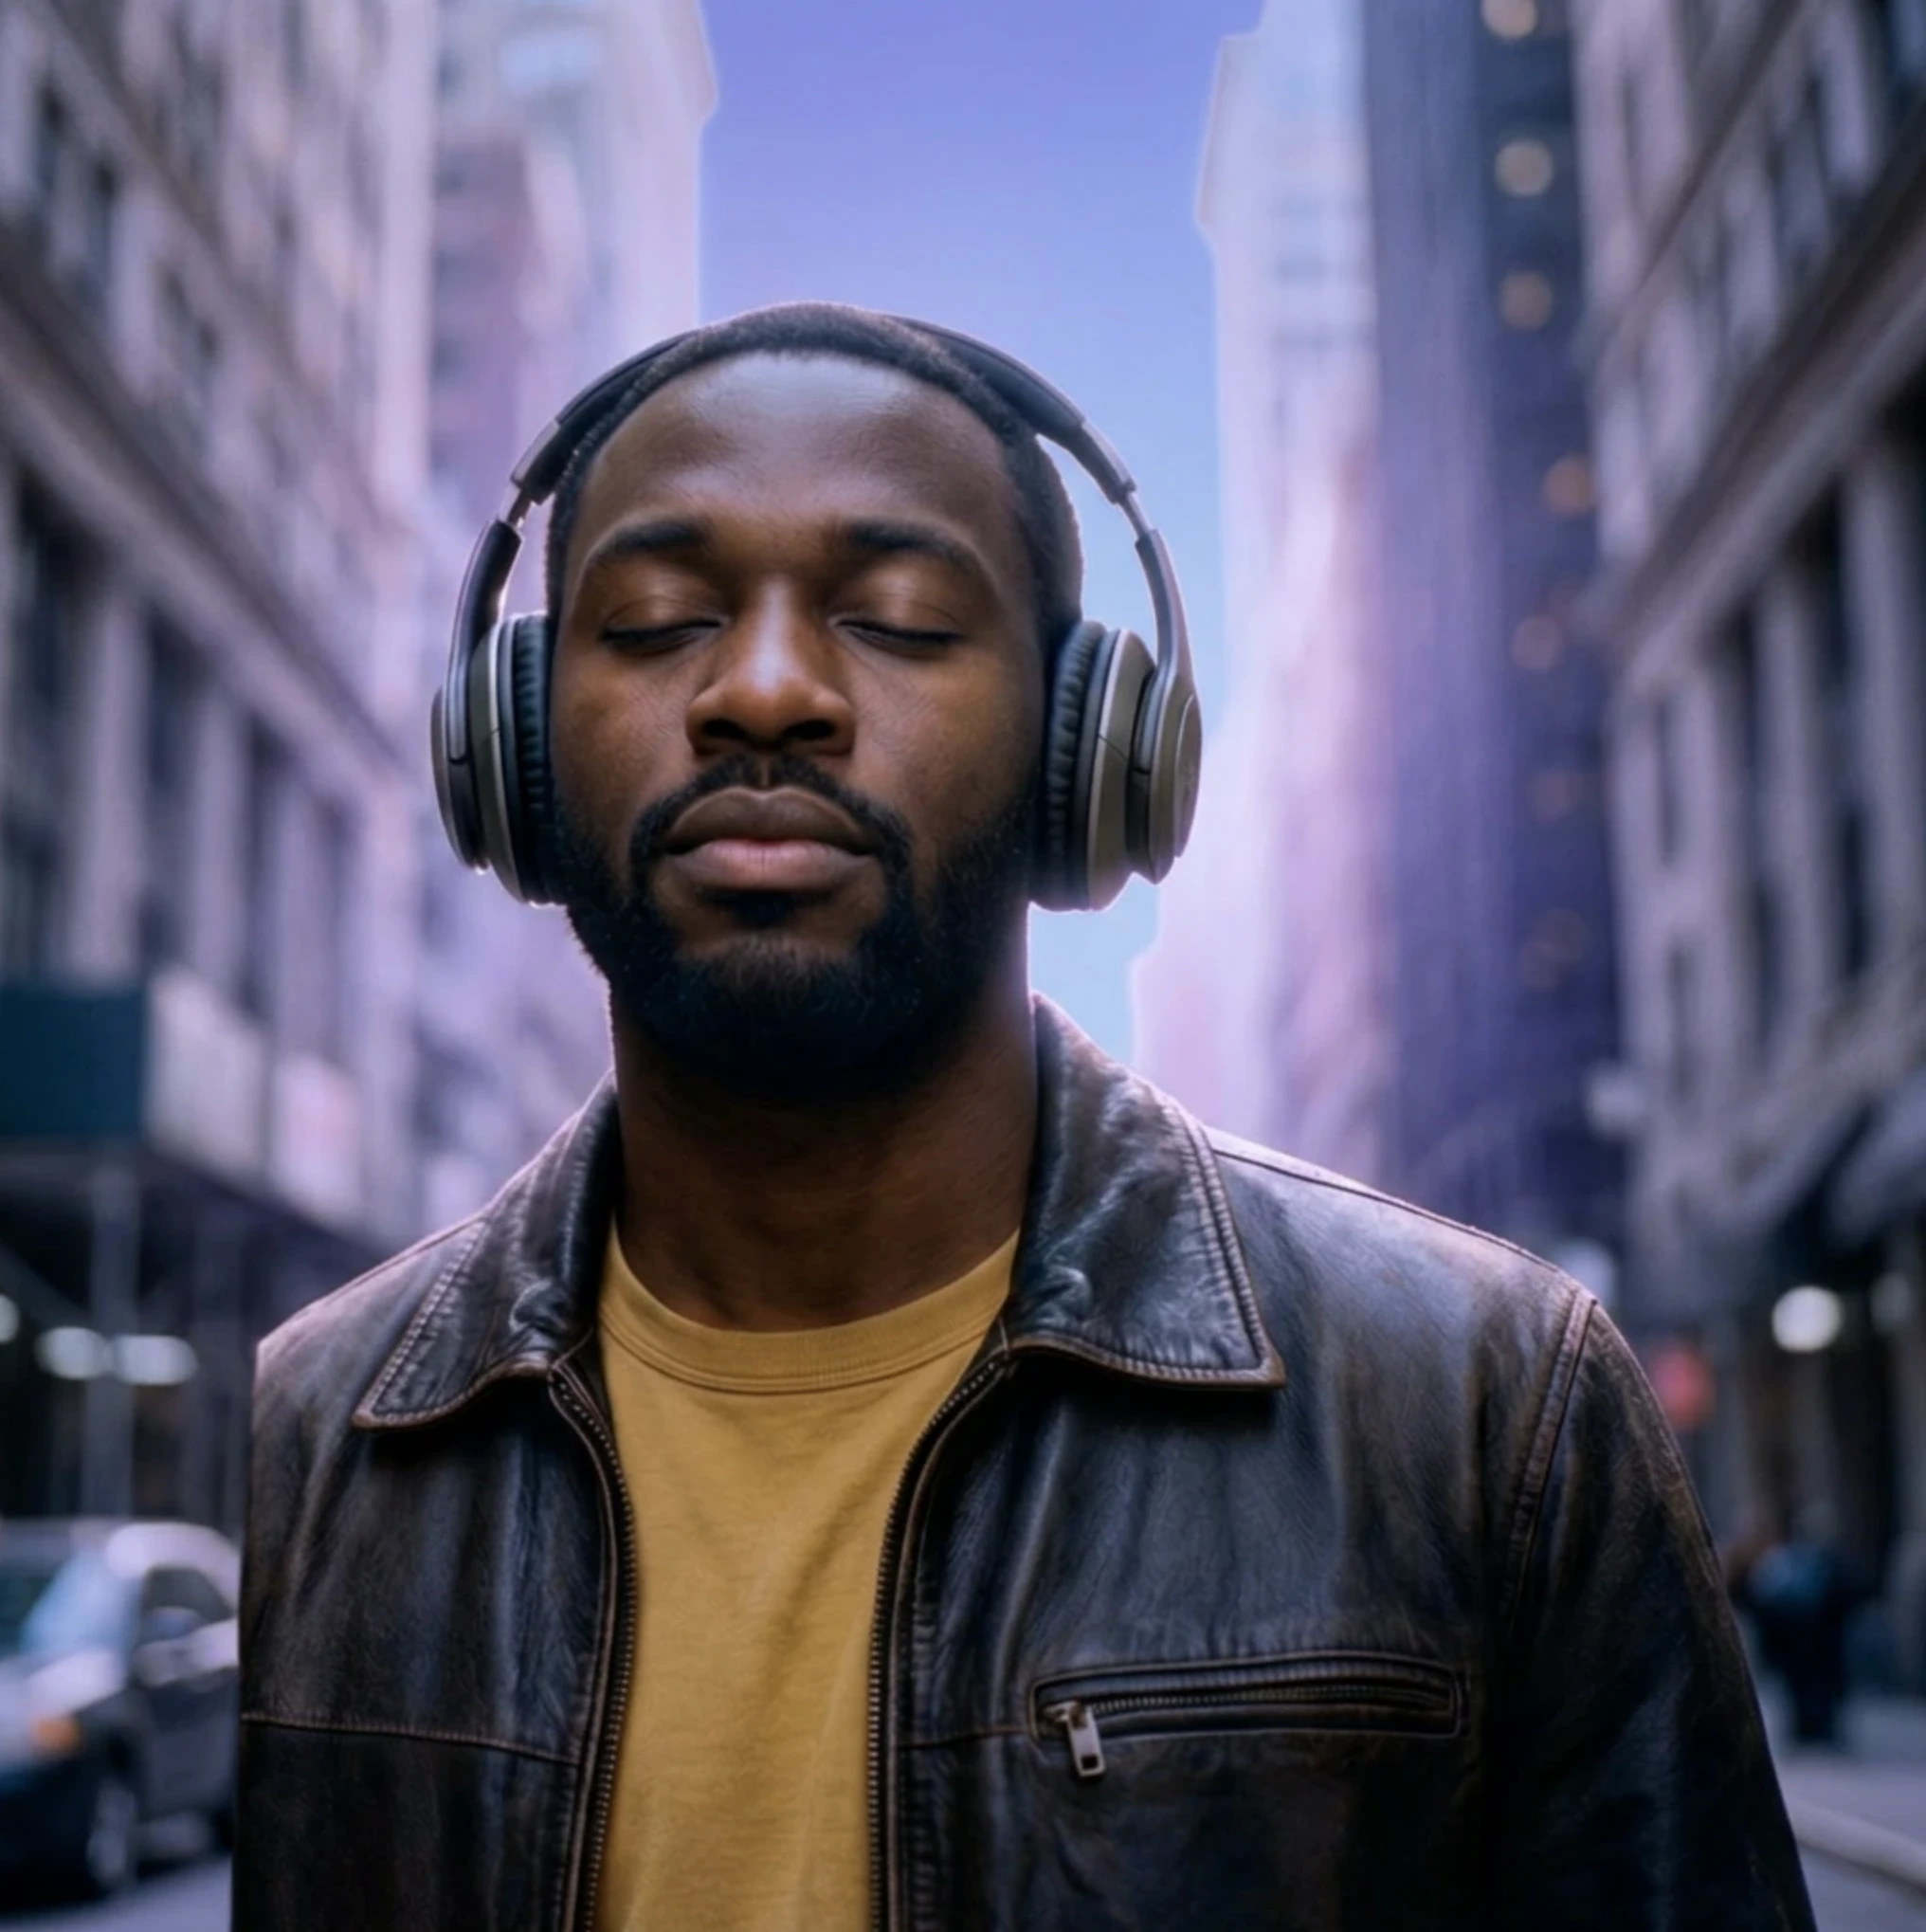
Color Palette gives you control over the overall color scheme of your image, letting you re-colorize it using a set of colors that you define. Rather than prompting for a color change and hoping the AI interprets it the way you intended, this tool lets you specify the exact colors you want to work with before the result is generated. You can extract a palette from an existing image, which is a great way to match the color mood of a reference photo or artwork you admire: the tool will pull the dominant colors from that image and apply them as the basis for your re-colorized result. Or you can choose from a set of presets if you want a quick starting point without building a palette from scratch.